So, you want to design a plushie! ("soft toy", if you're English)
And not just a flat, two-pieces-of-cloth plushie. No: you want three D's.
To do that, you first need to transform a 3D surface into 2D pieces, to cut into fabric & sew together. The two most common methods are: 1) be a wizard and do this in your head, or 2) use a 3D modelling software, i.e., be a wizard.
I ain't got time for that, and neither do you!
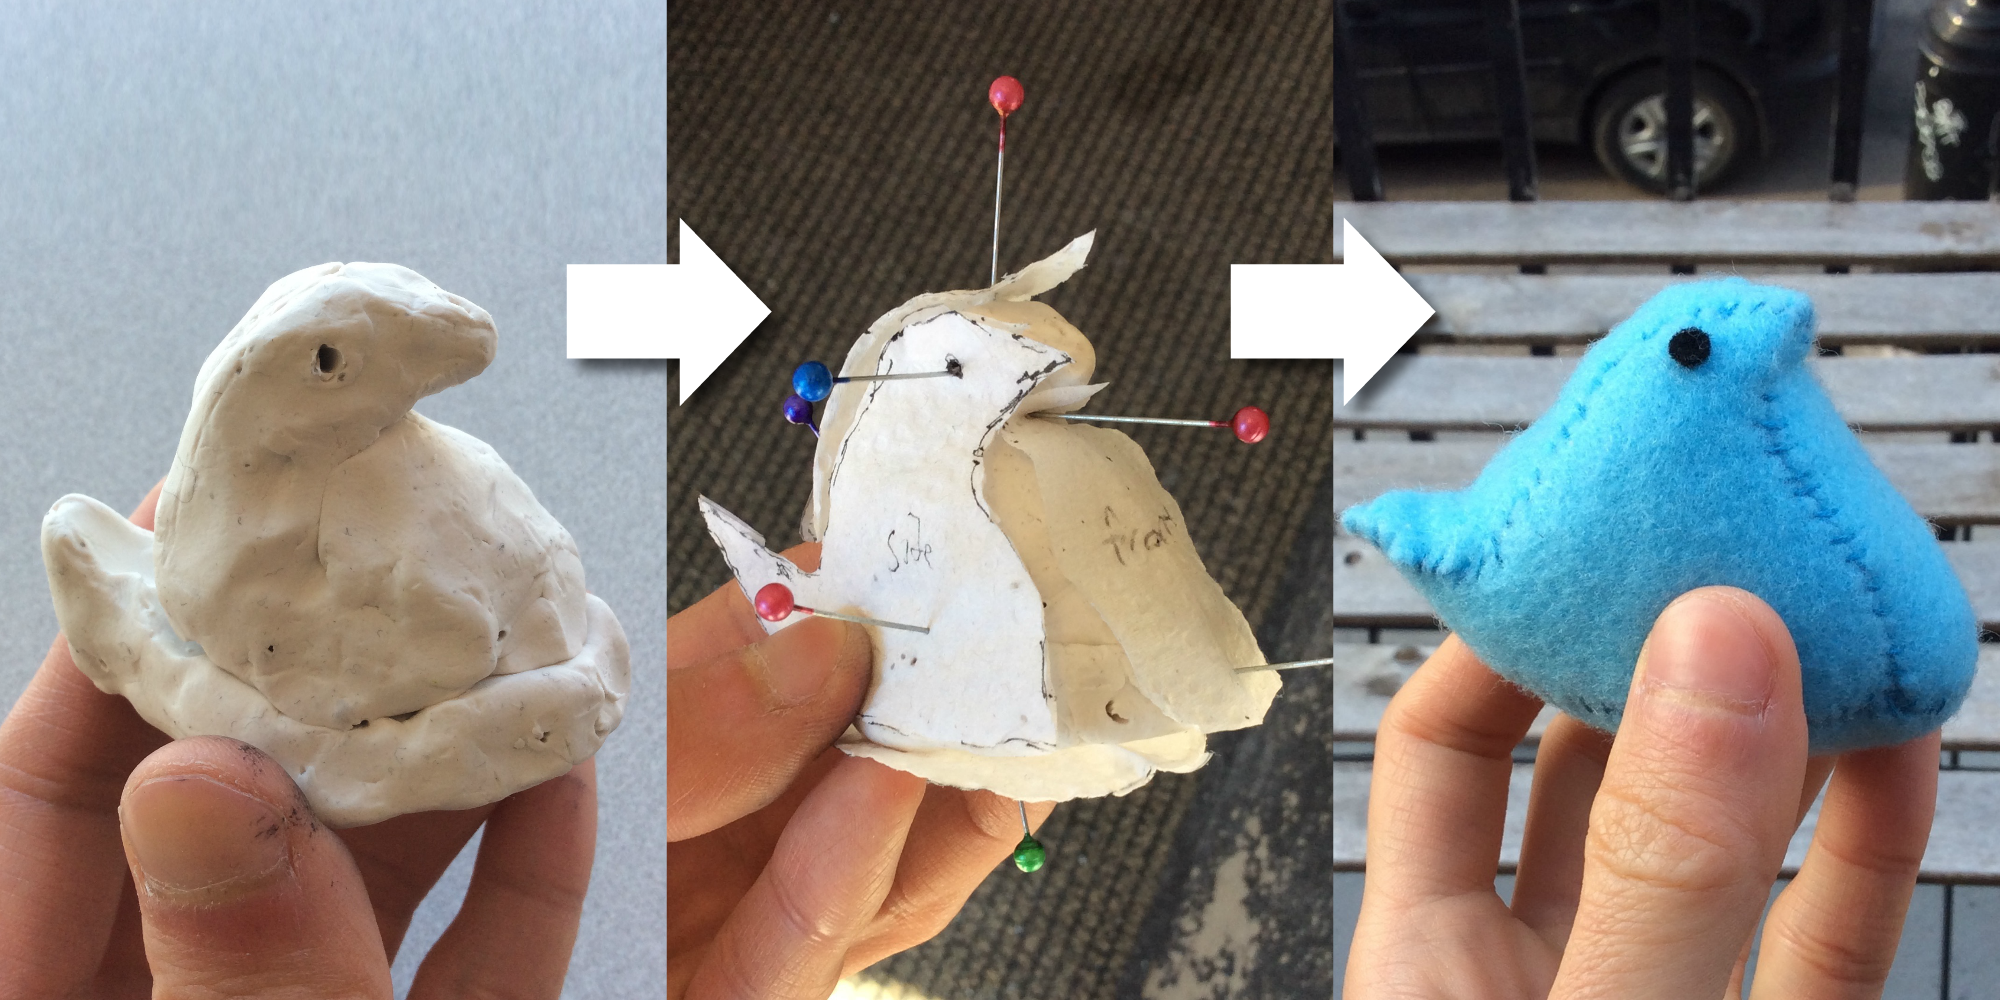
But recently, I was inspired by this designer's tutorial, where she wraps fabric around carved foam. I wanted cheaper/easier materials, so I made a variant where you wrap paper towel pieces around Play-Doh.
Let's start!
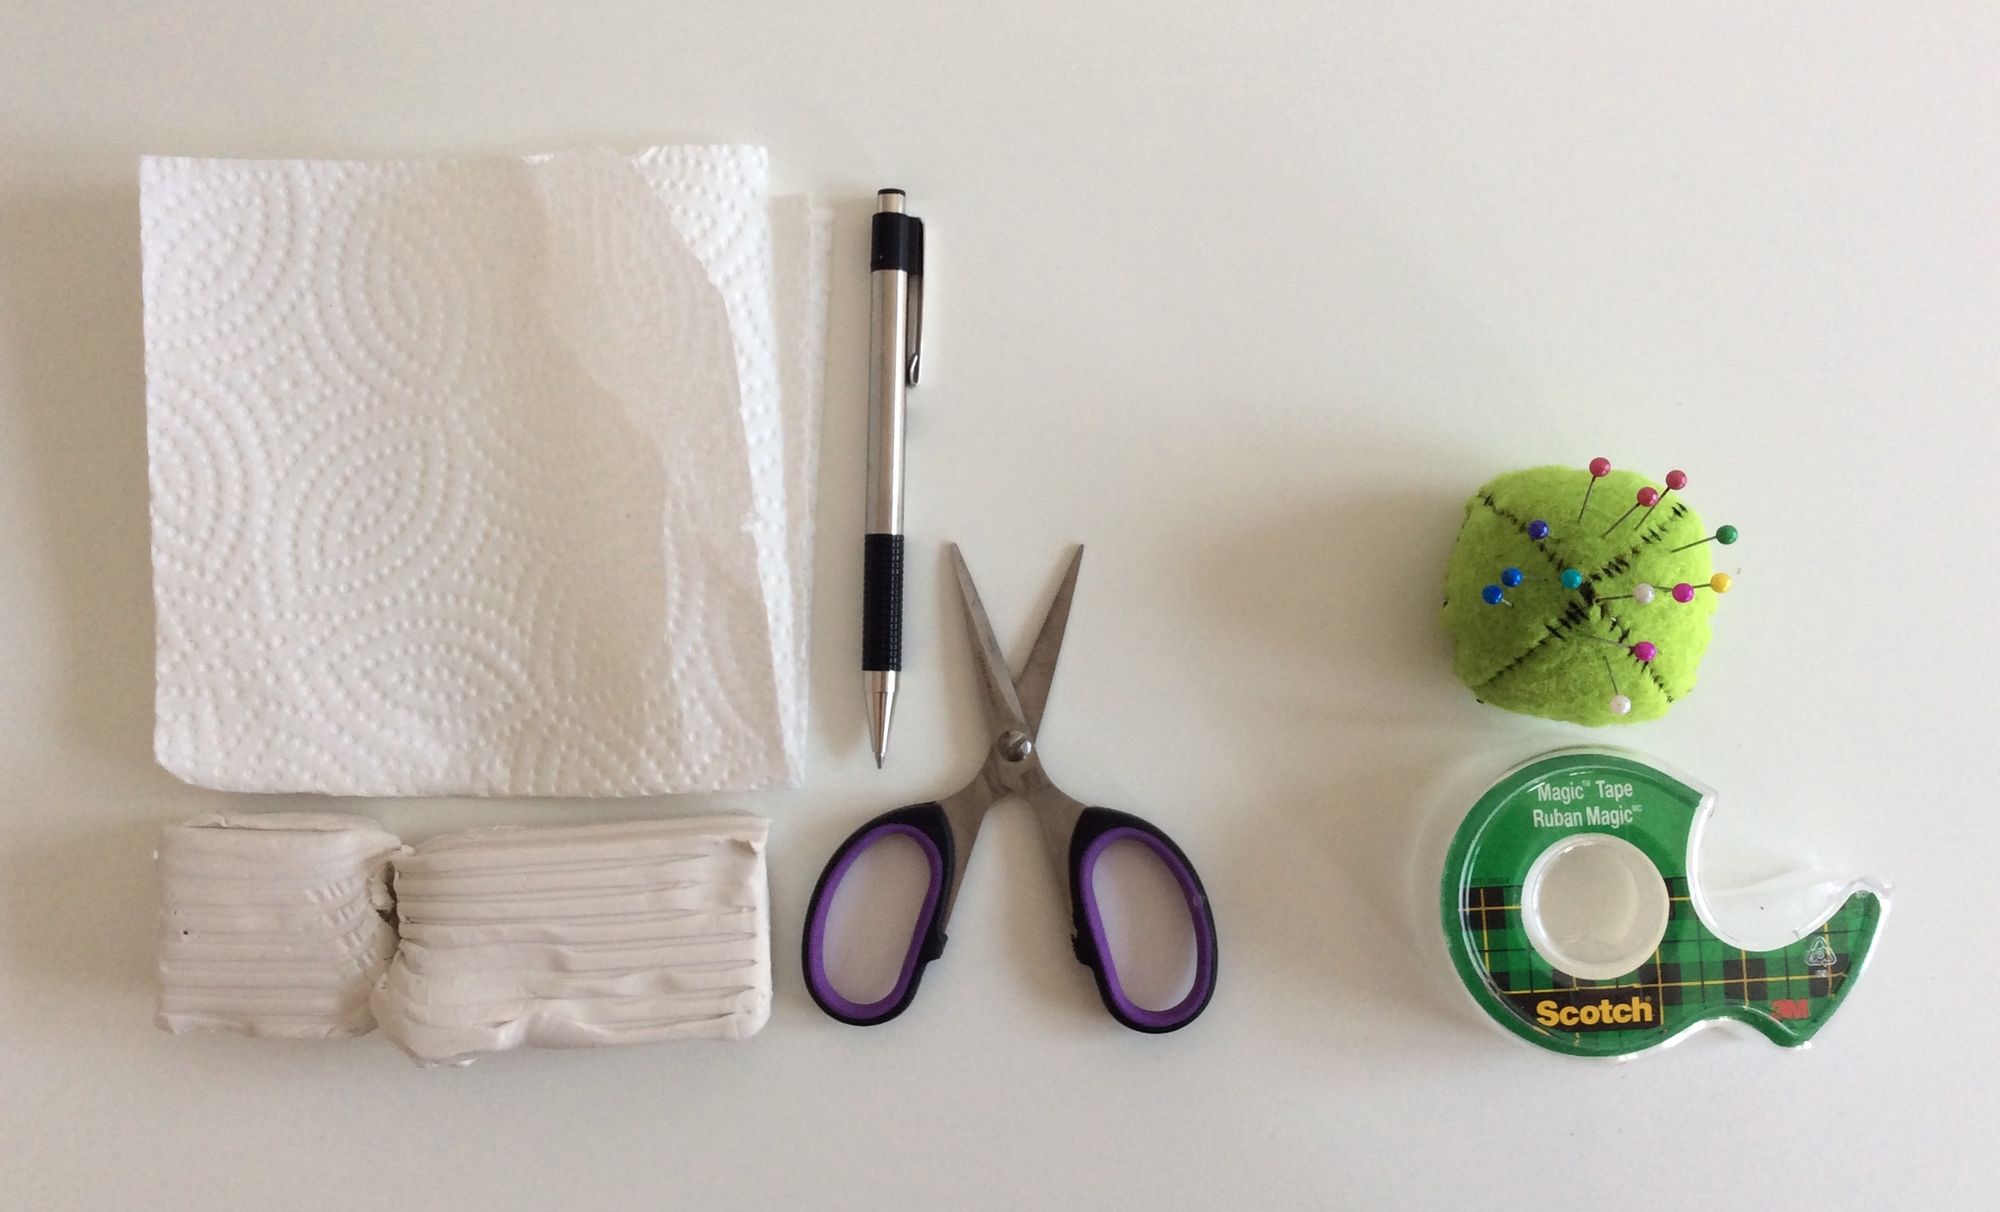
What You'll Need
- Modeling clay (not necessarily Play-Doh, it just made the title alliterate)
- Paper Towel
- Scissors (preferably small, to cut tight curves)
- Pen
- Optional: tape
- Optional: straight pins
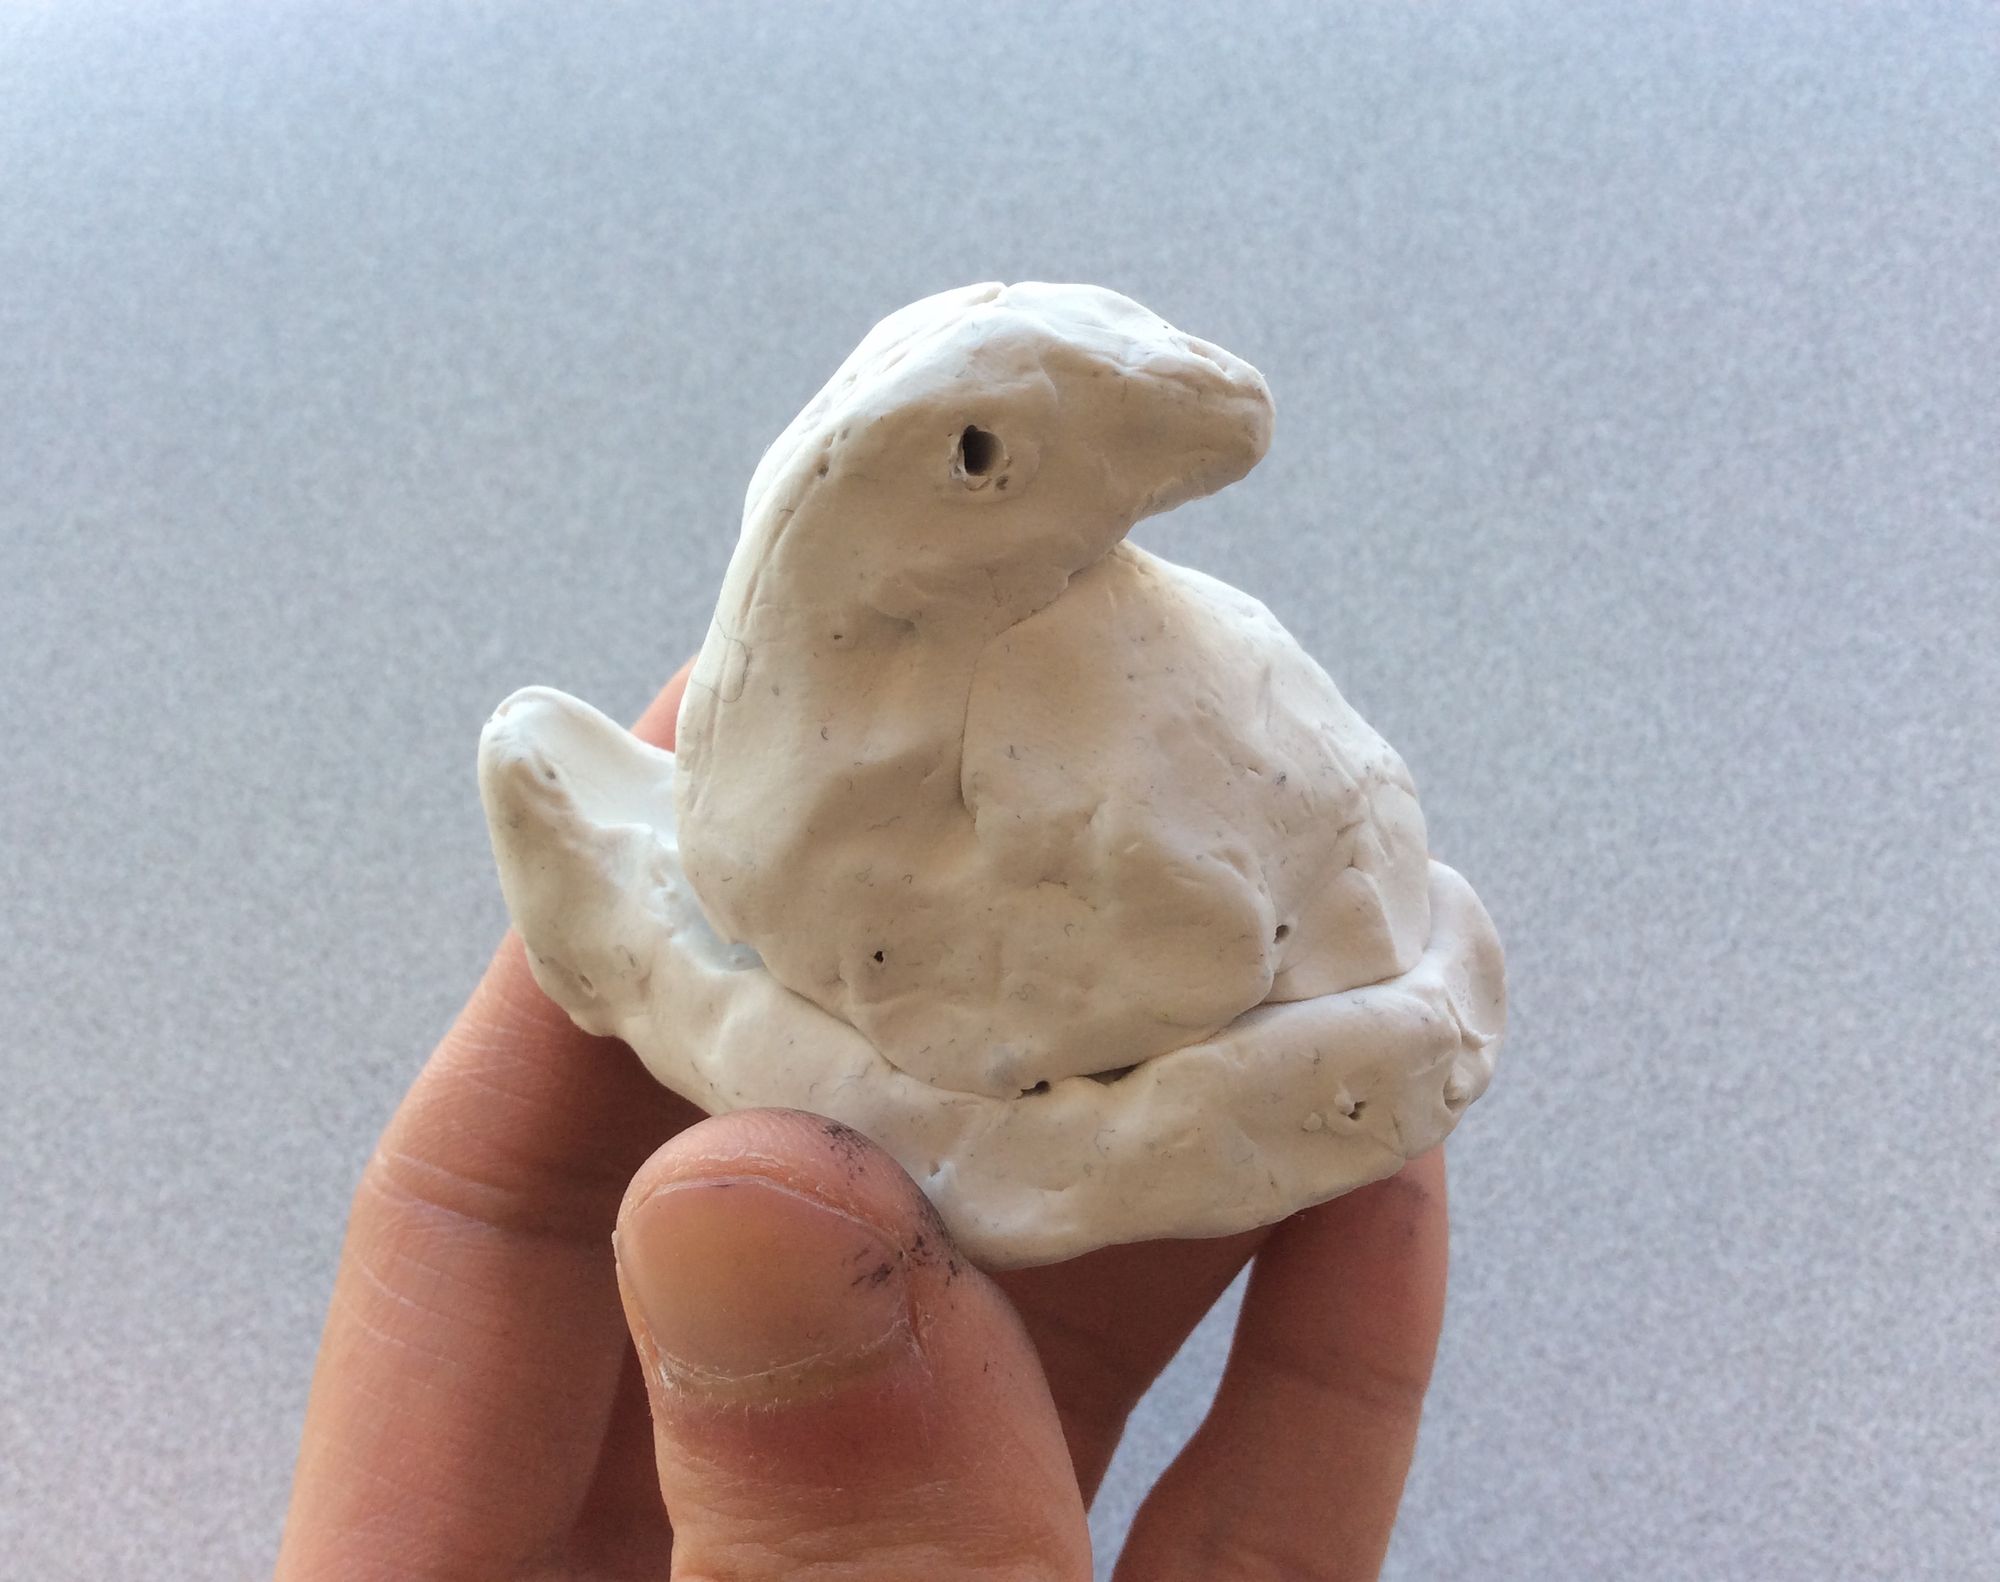
Step 1: Mold your 3D form
Come on, you did this as a kid. It doesn't have to look smooth, just approximate.
For this tutorial, I'm making a Peep!
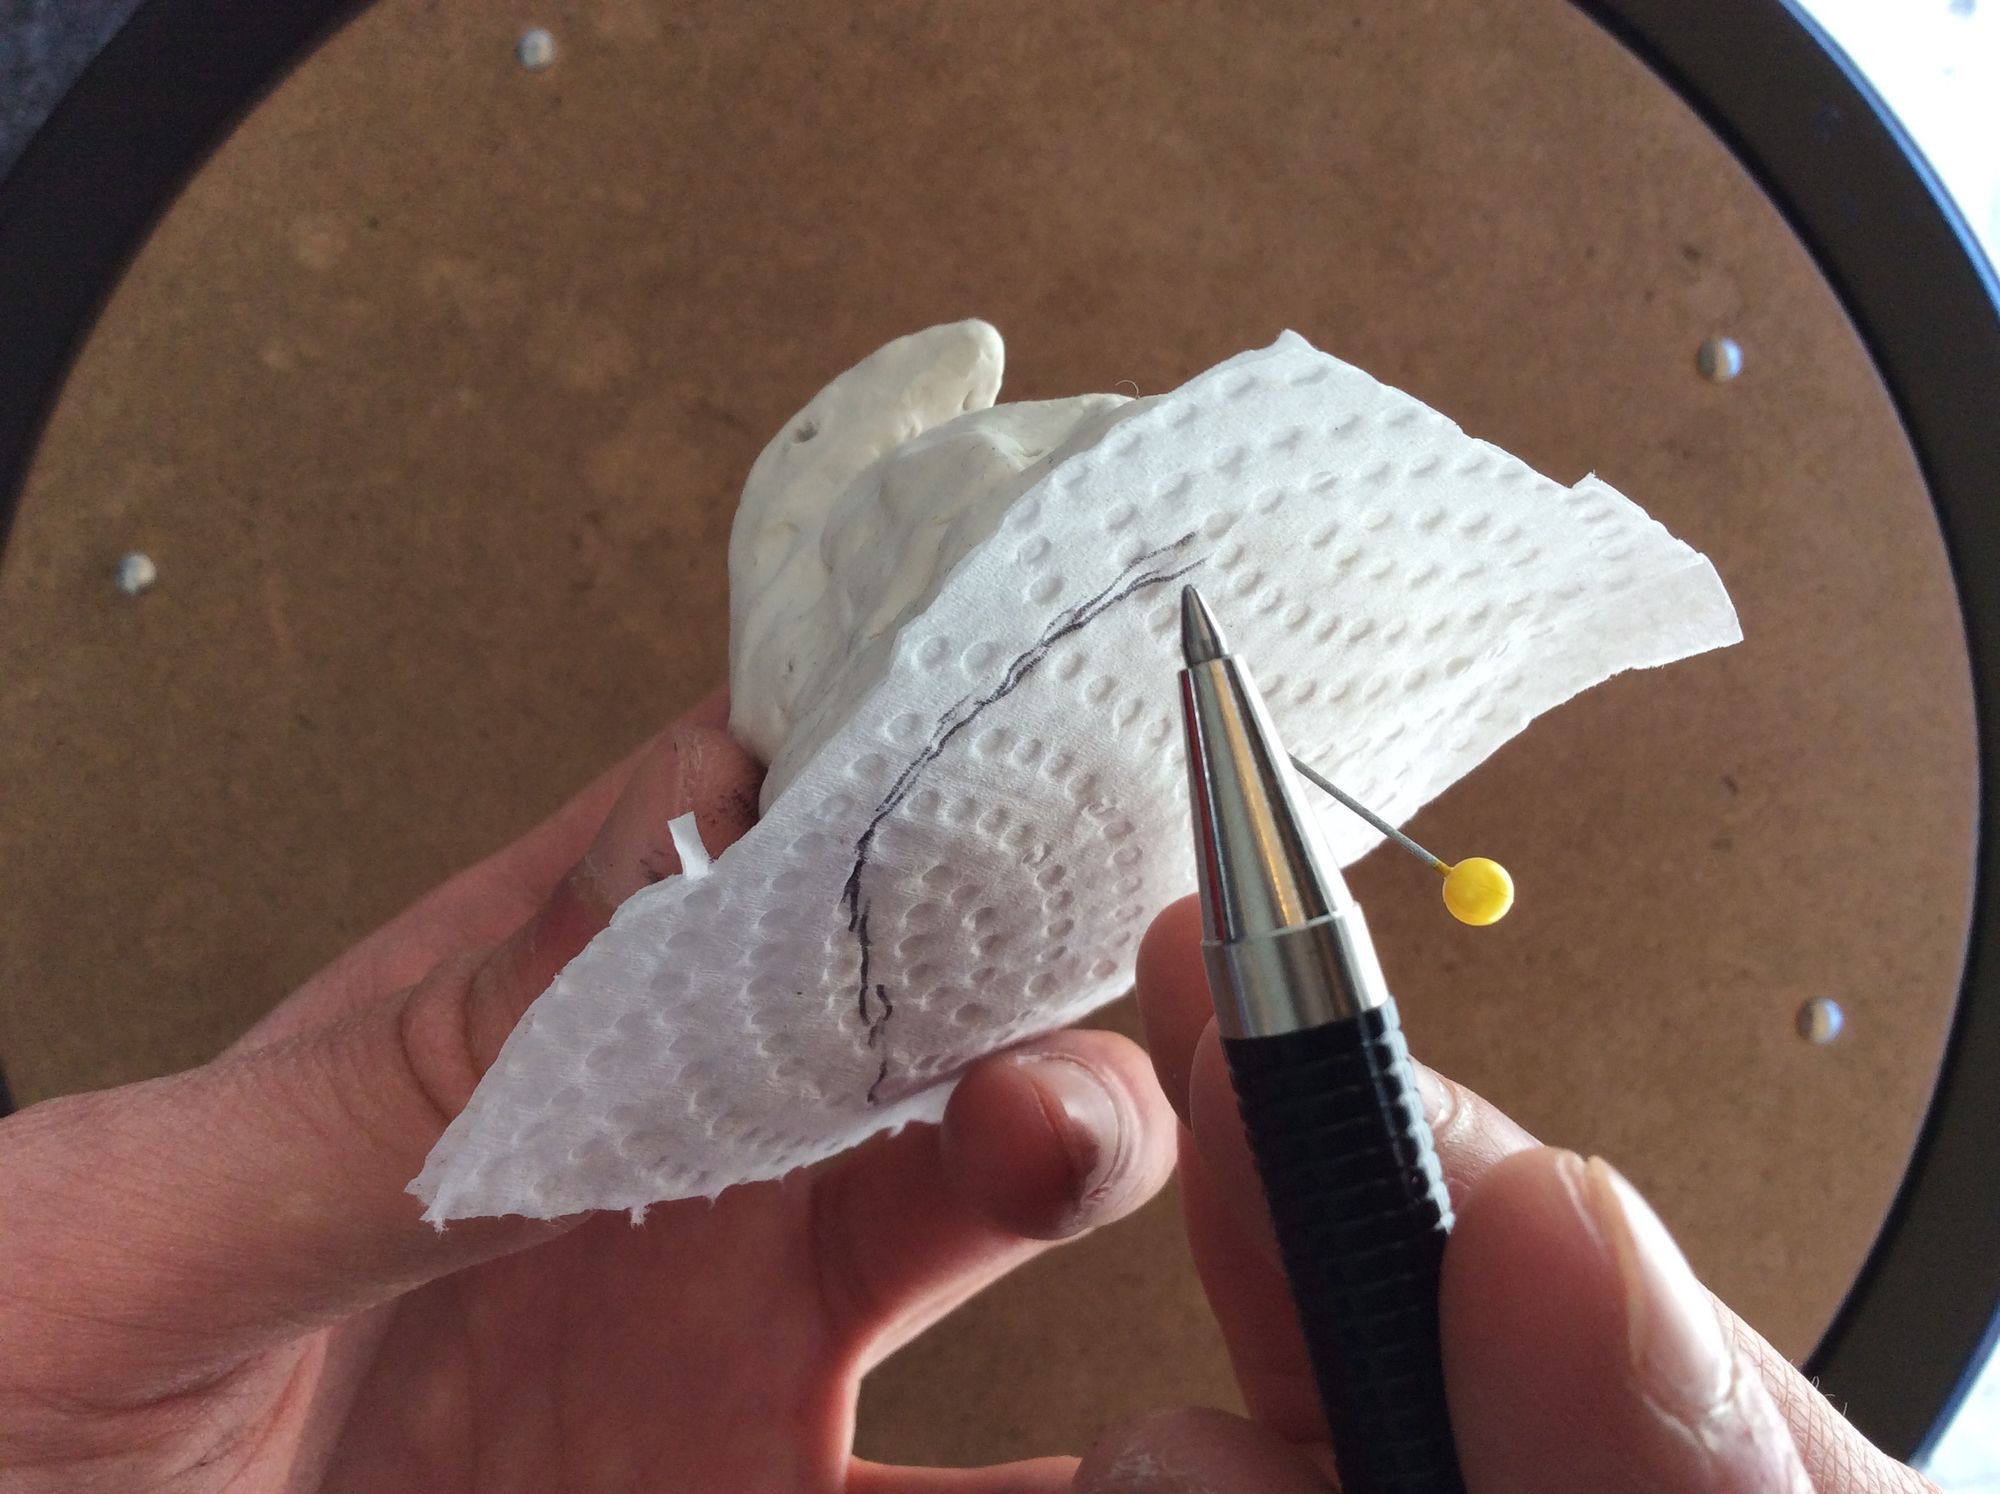
Step 2: Cover its surface
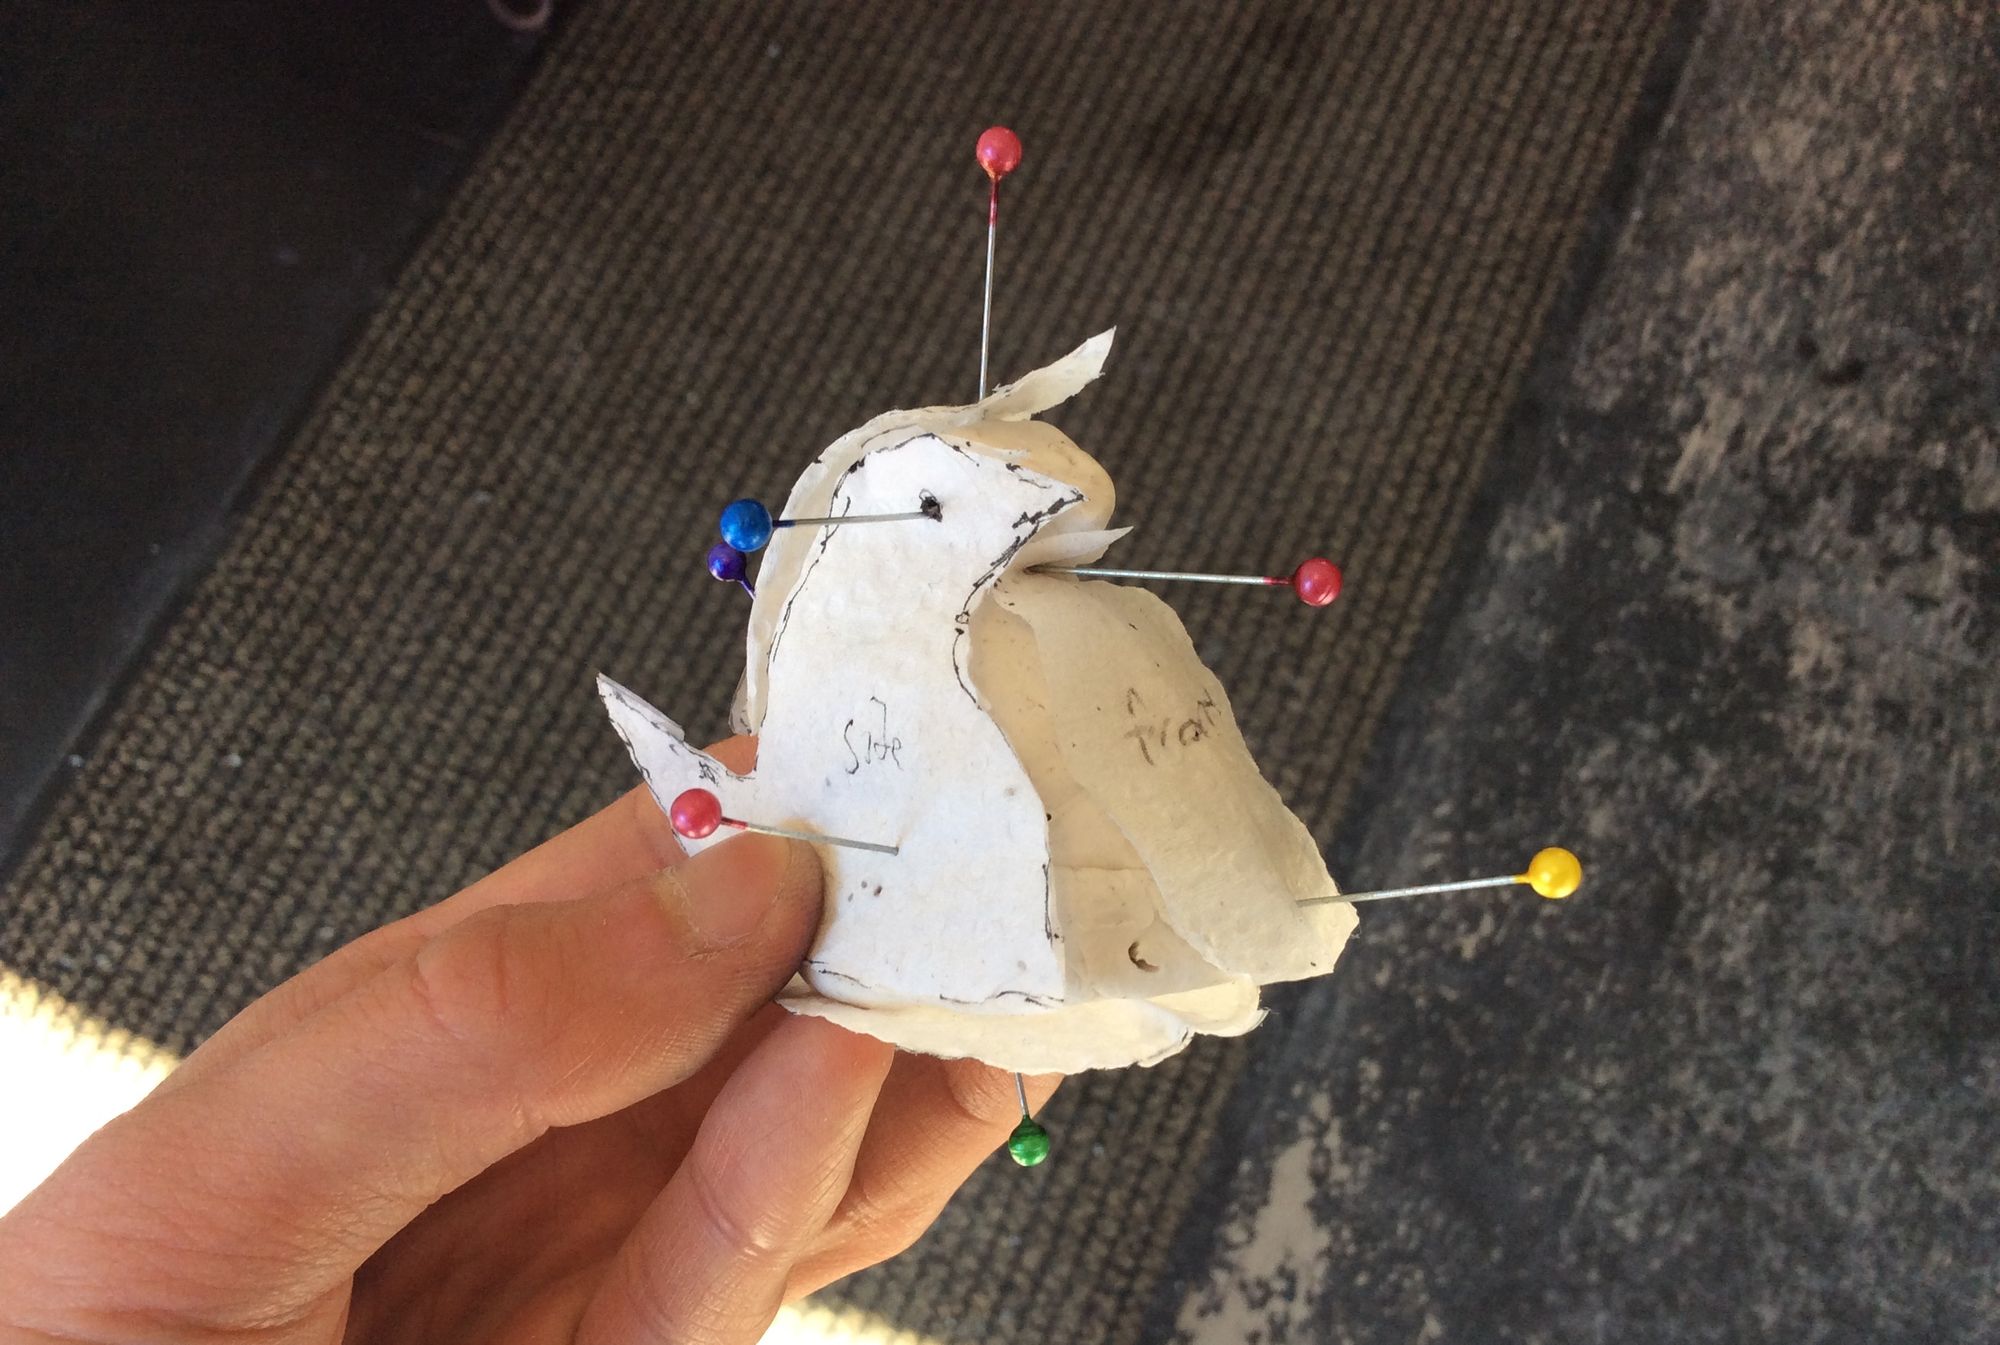
Cut out a small piece of paper towel, and press it gently against your clay's surface. (optional: use a pin to keep it in place)
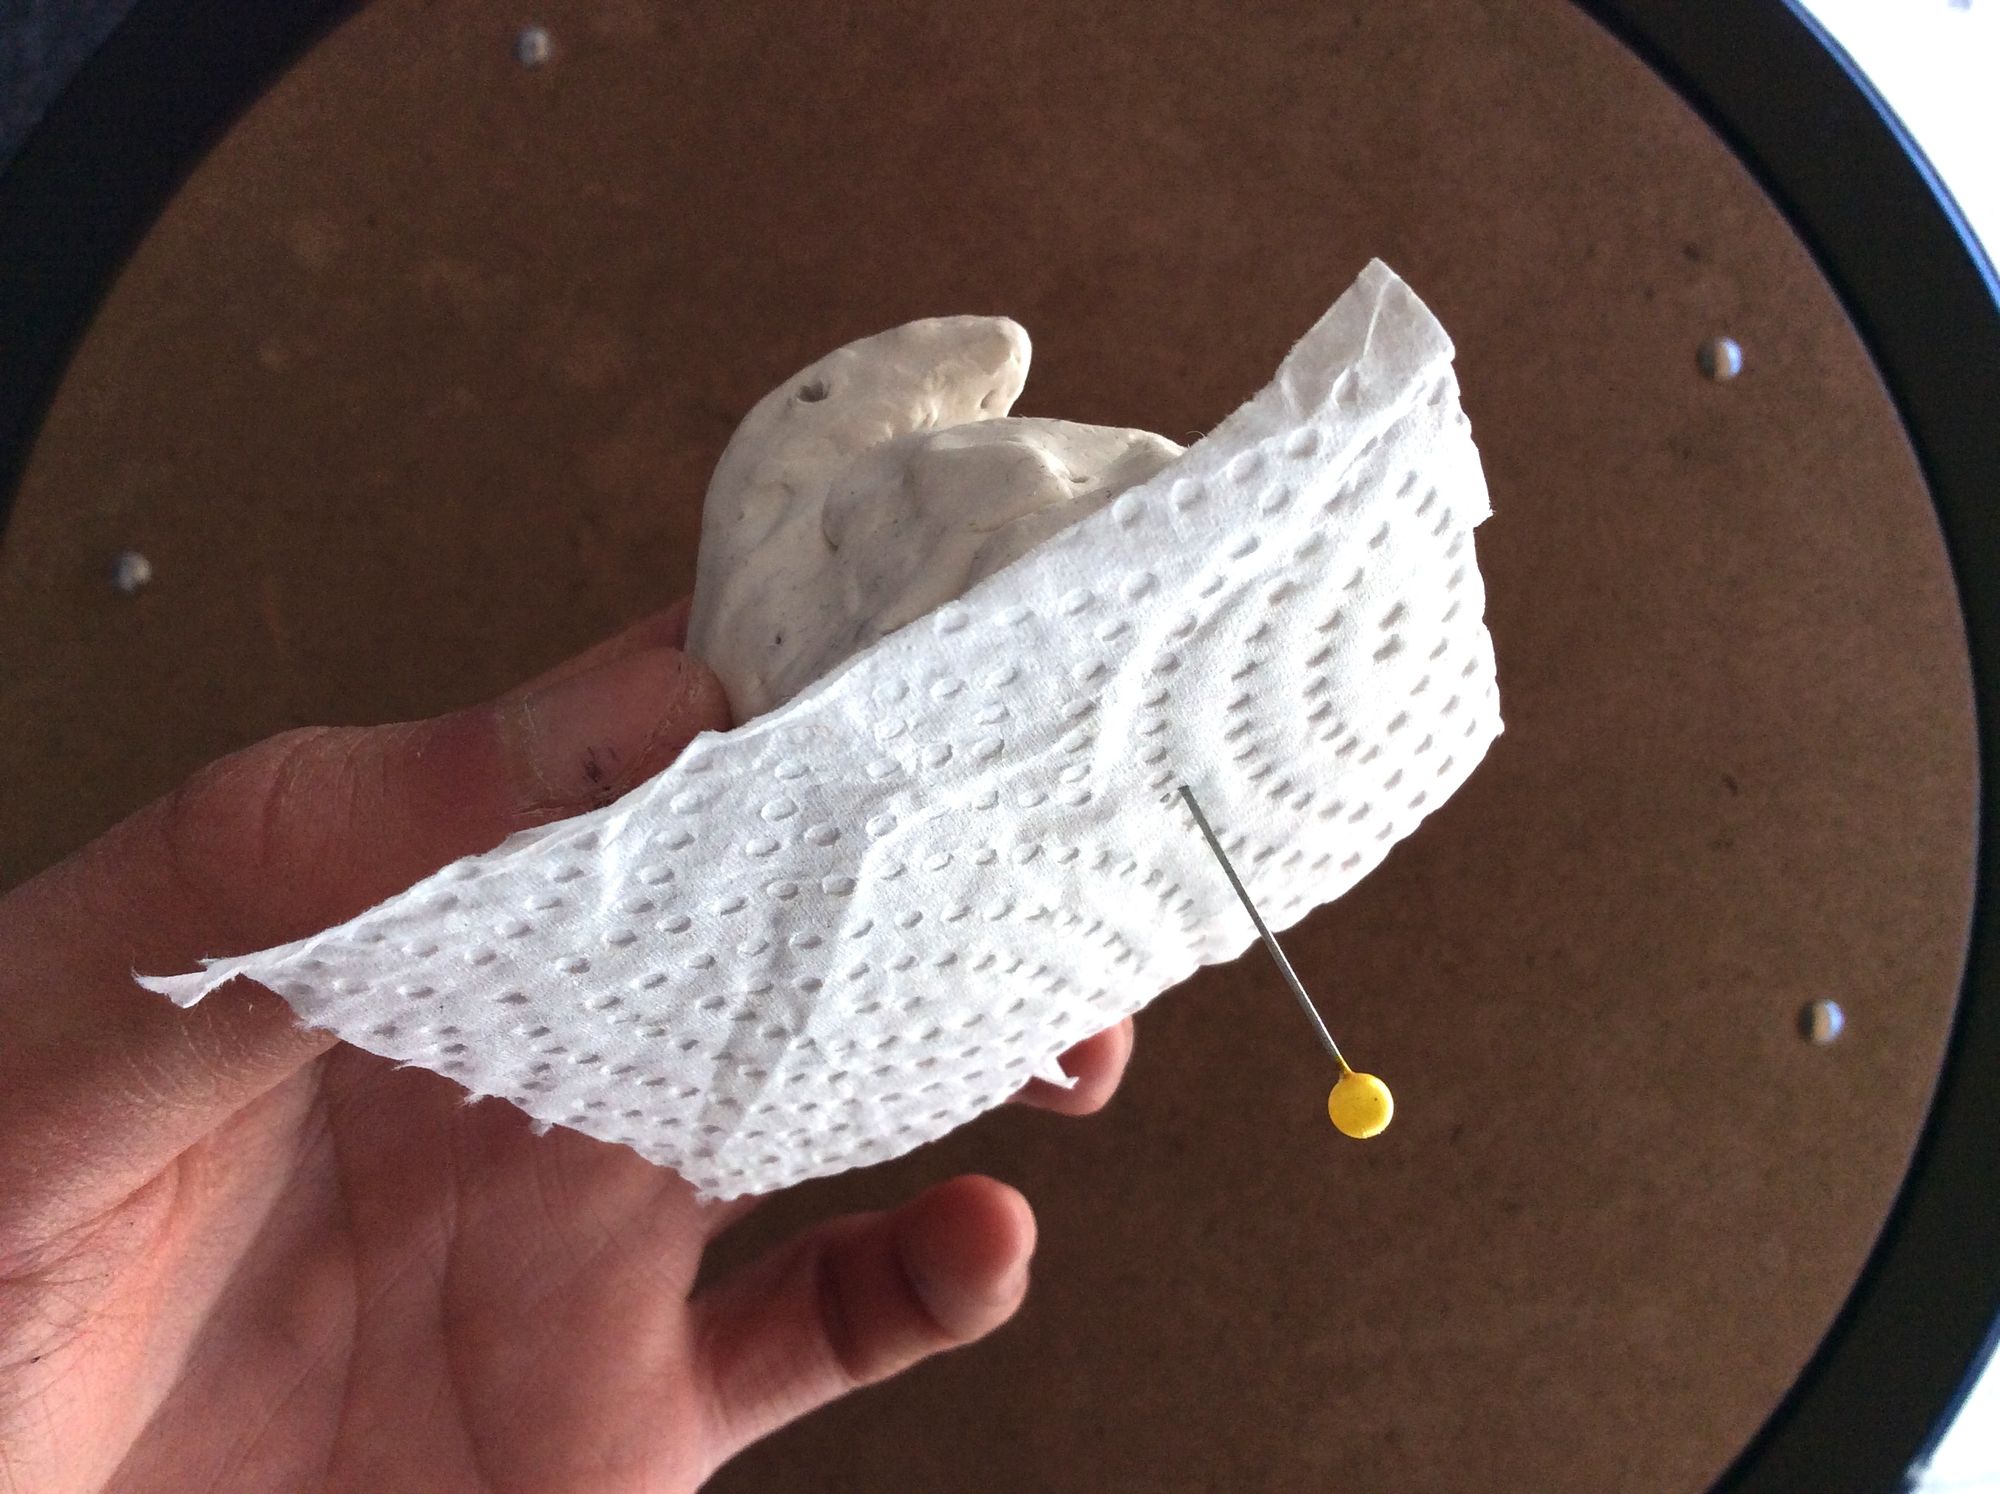
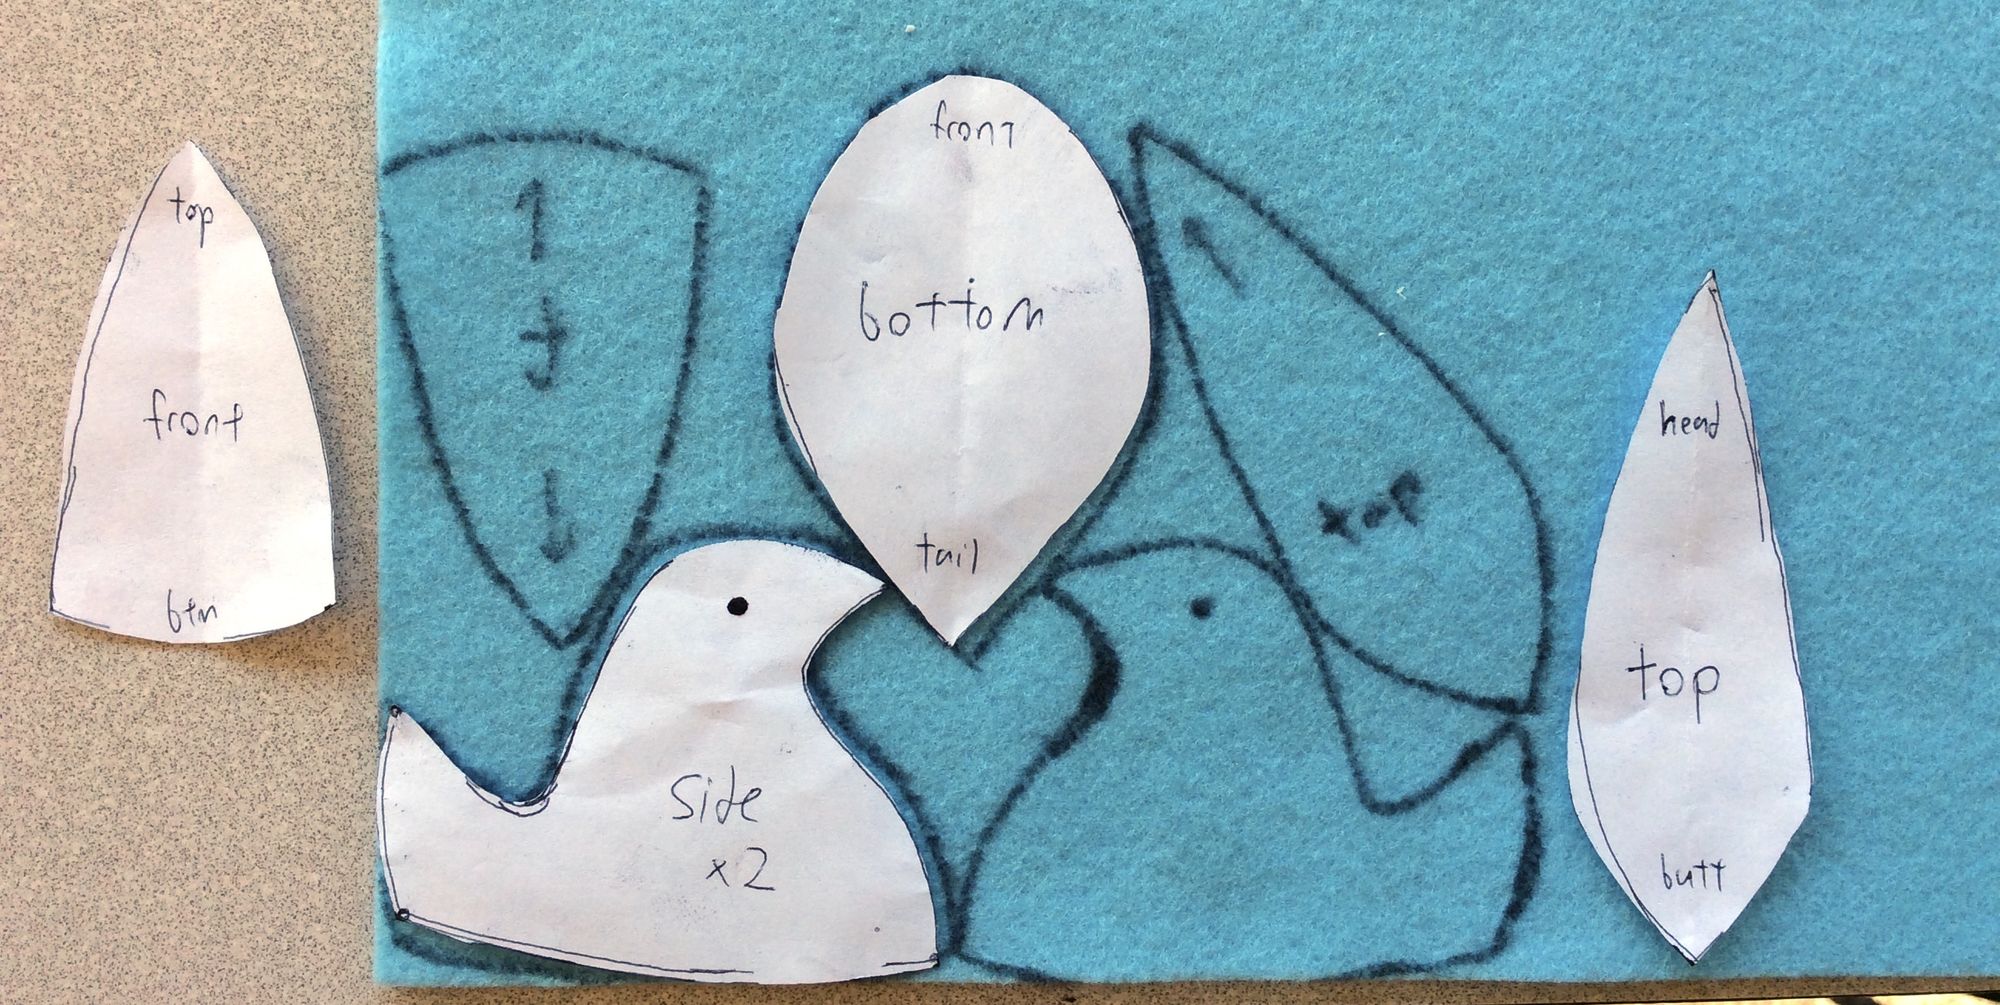
Draw the edge of where the clay touches the paper:
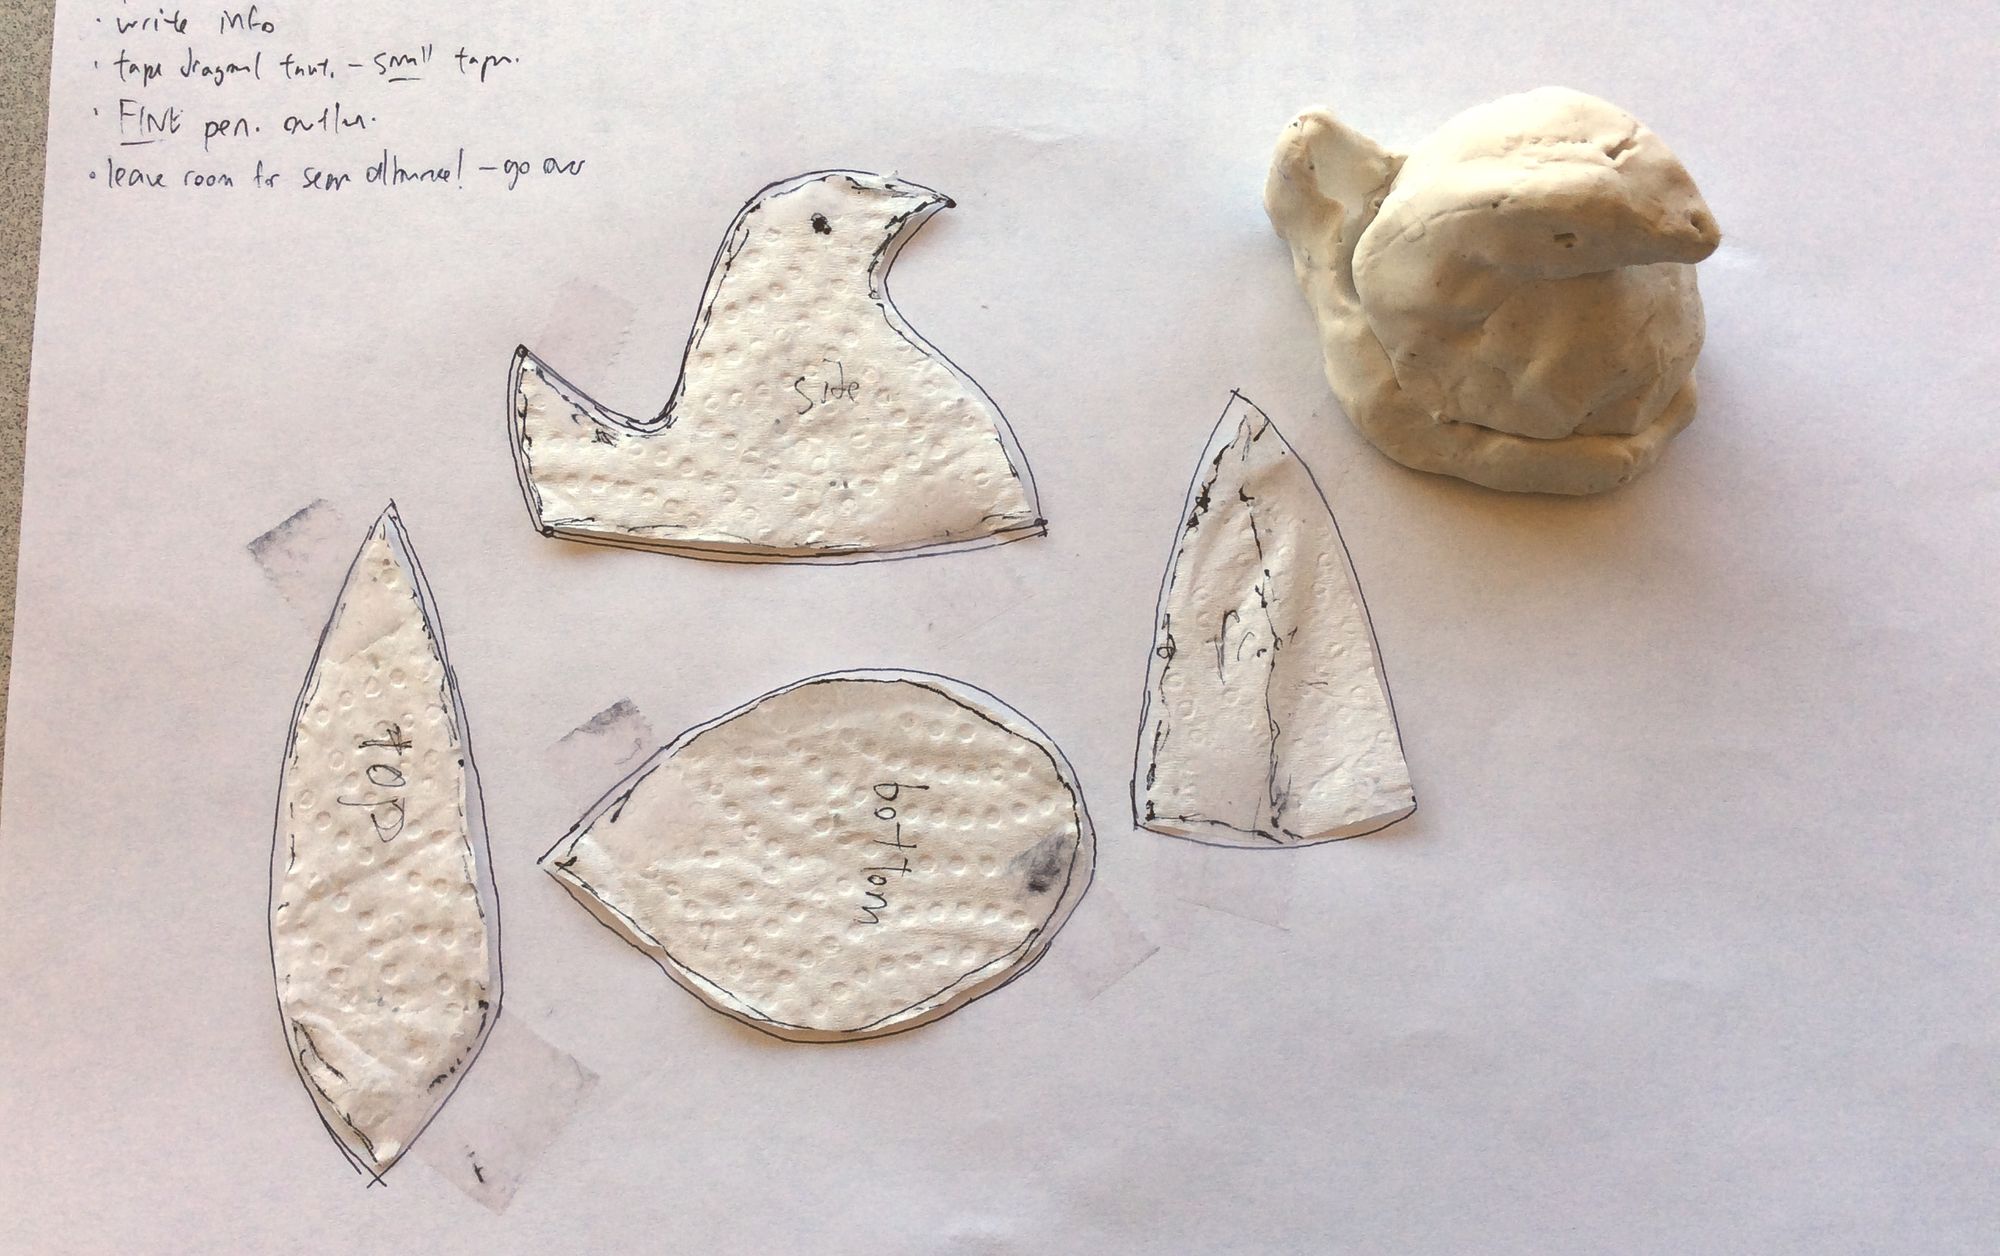
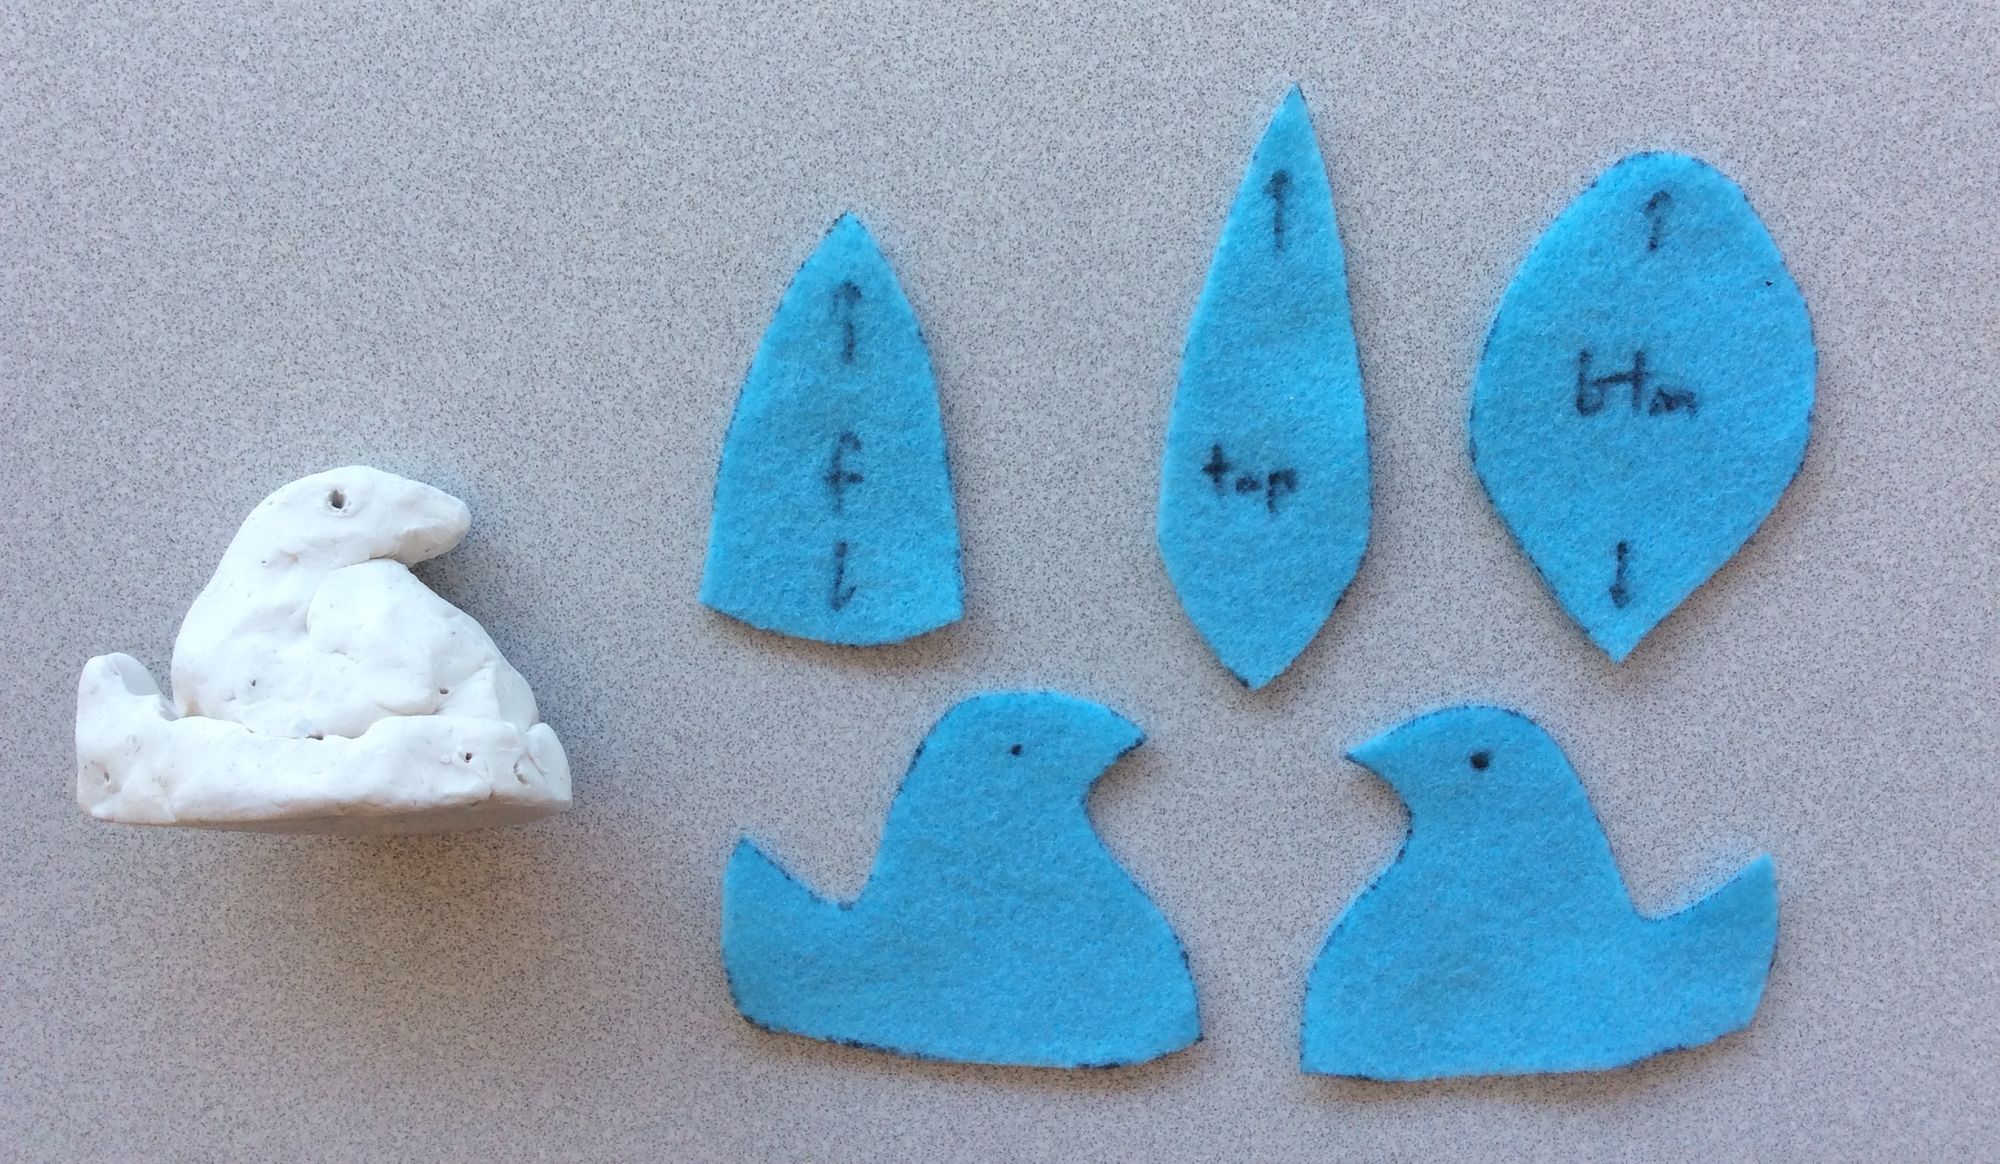
Cut away everything outside of the edge, and that's your first 2D piece! Repeat until you've covered the whole surface. Tip: write notes on the pieces, to keep track of where they go.
(If a piece can't wrap around the clay without making awkward folds, you may have to split it into two pieces, or snip out the fold to create a "dart".)
And that's it! You just turned a 3D surface into a 2D pattern! 🎉
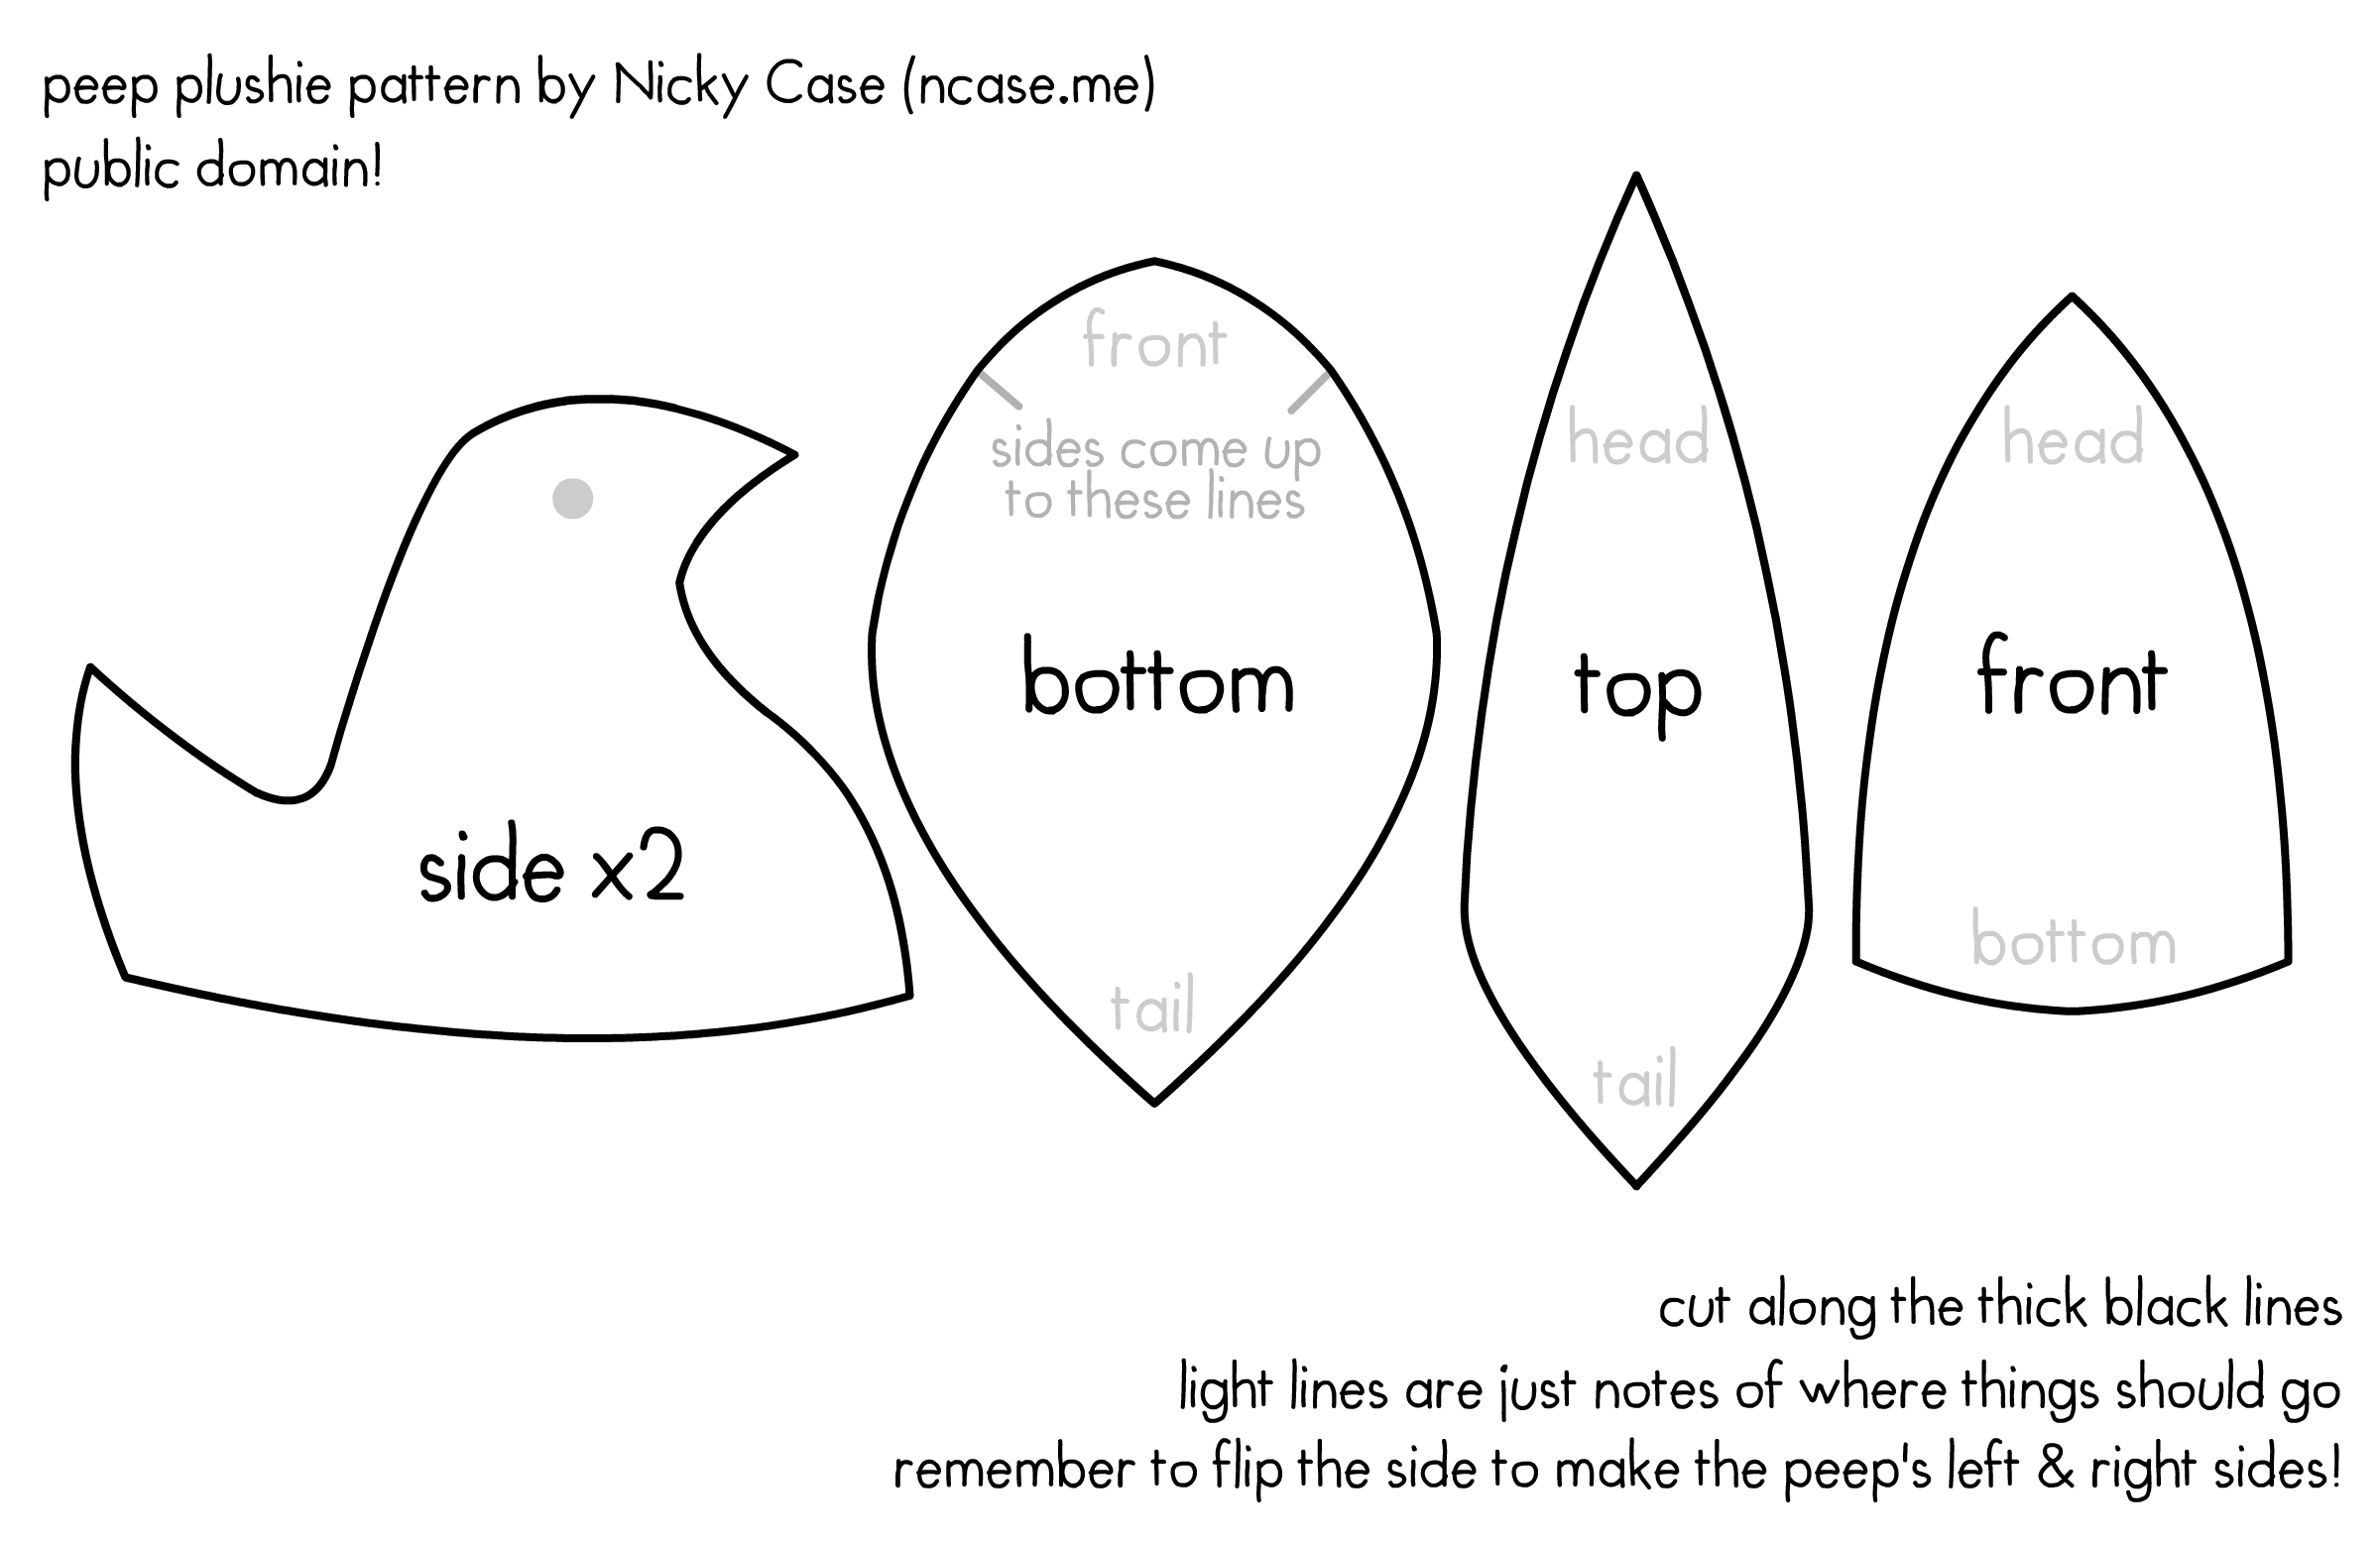
To save your pattern, you can just scan or take a photo of your pieces as-is.
But I wanted to clean mine up first. So, I took a photo & digitally traced the outlines... so that you can download this Peep Plushie Pattern! (right click & save)
In total, designing this plushie pattern took me one hour. On my first try.
You'd expect some kind of catch, but it really was that easy! All that was left for me to do was, uh, y'know...
Step 3: Make The Rest Of The Friggin' Plushie
This tutorial's just about how to design a plushie pattern, not sew one, but I'll list the main steps & leave links to other tutorials!
First, copy the pieces onto a fabric...
Cut them out...
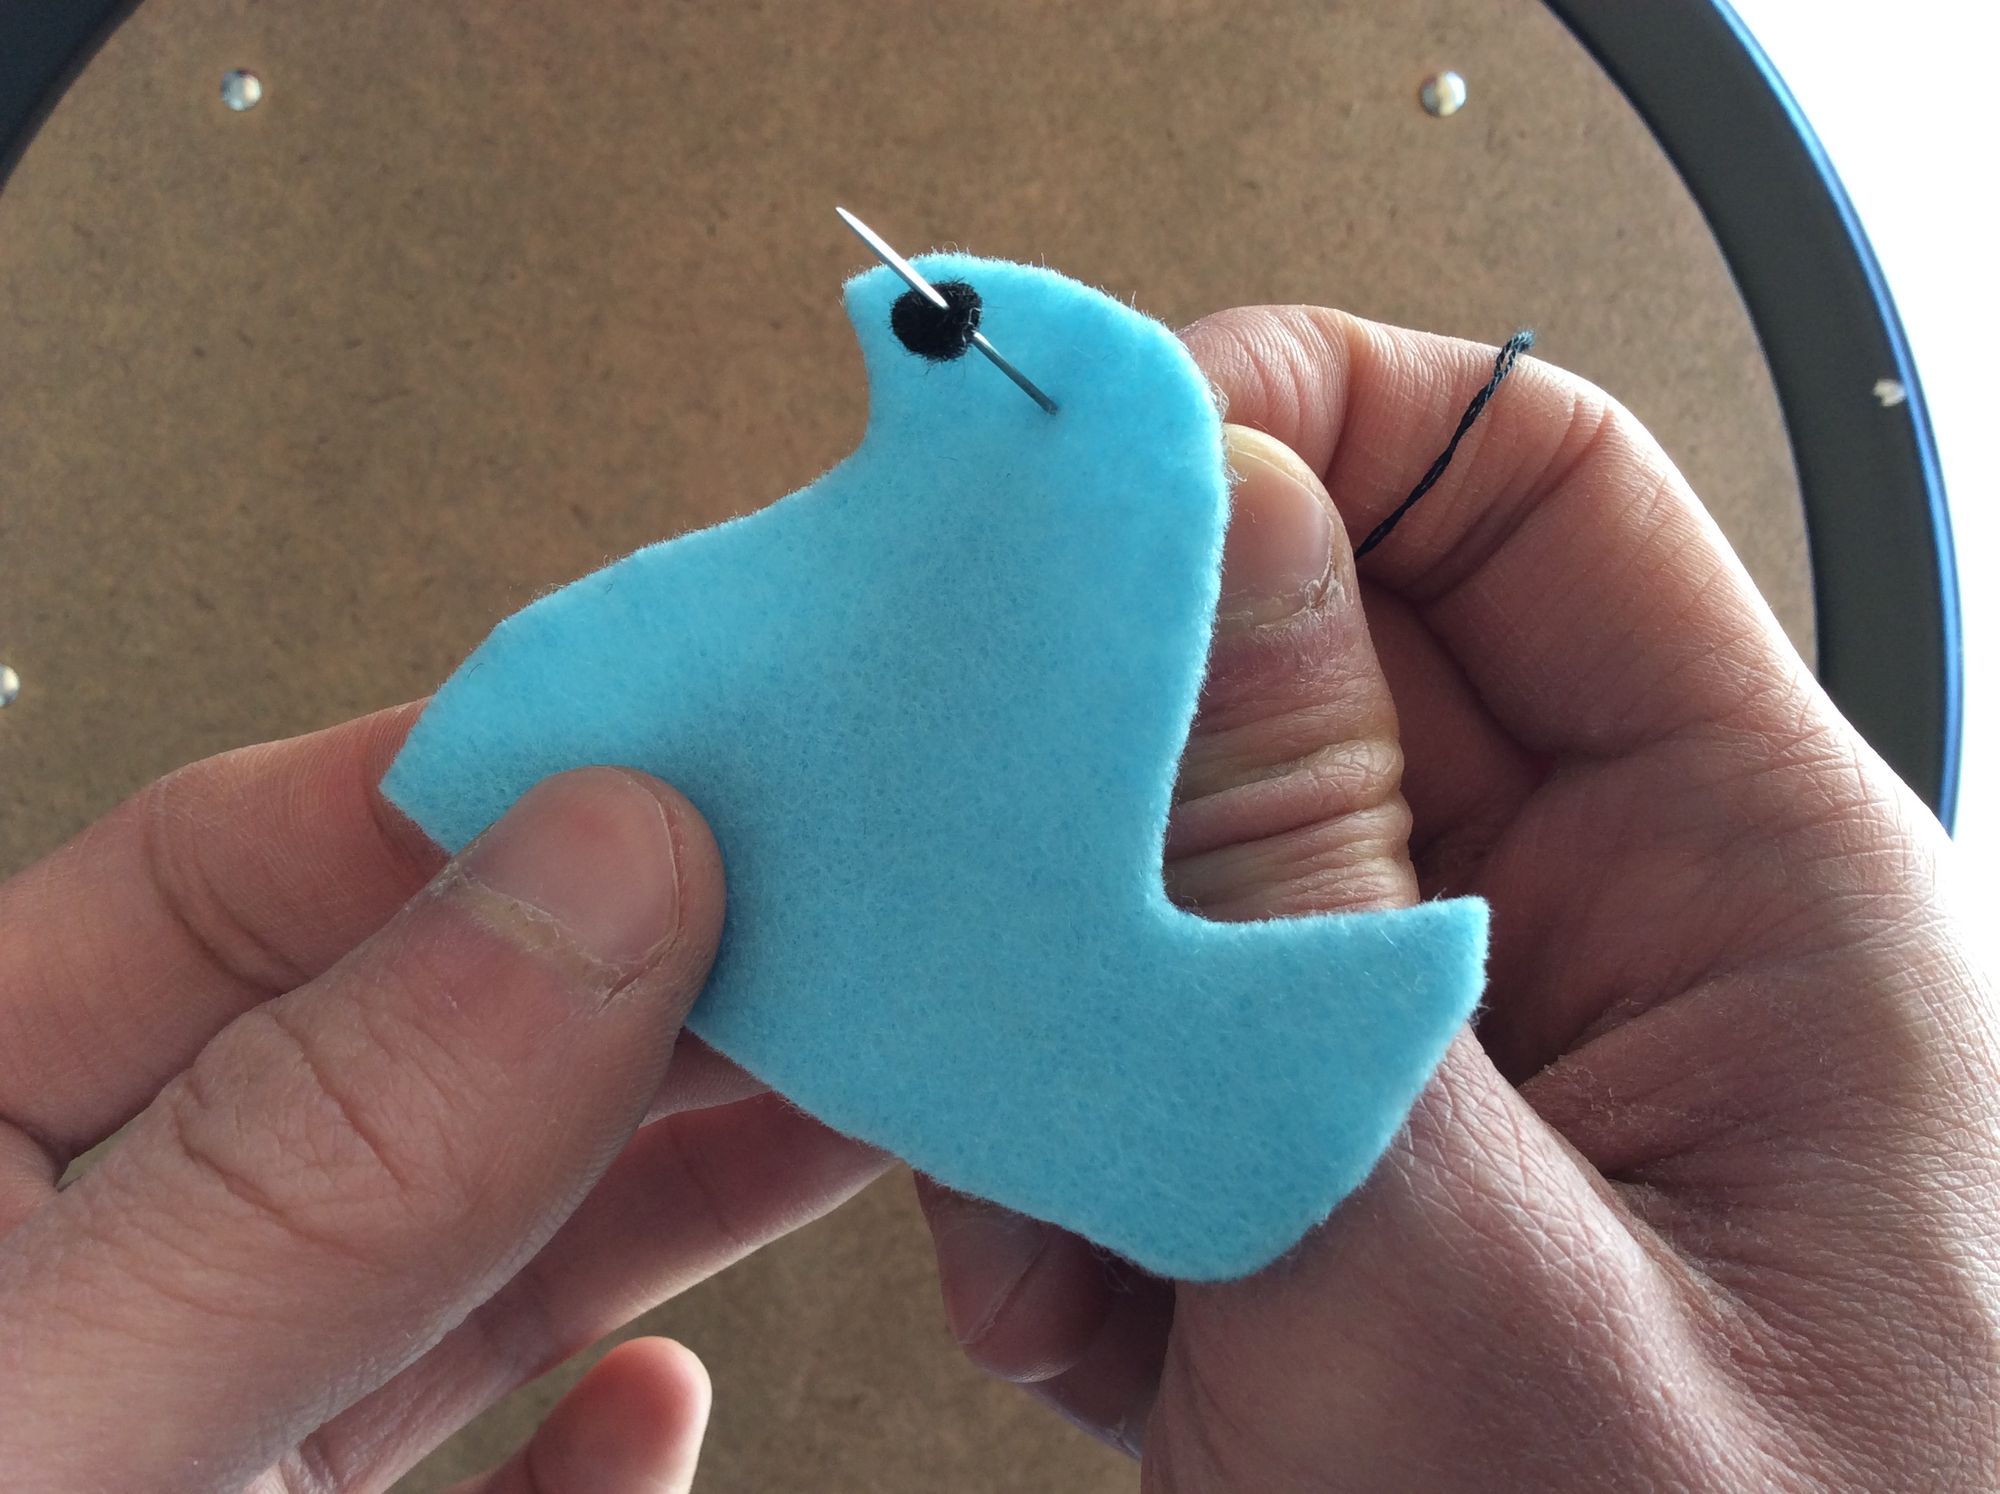
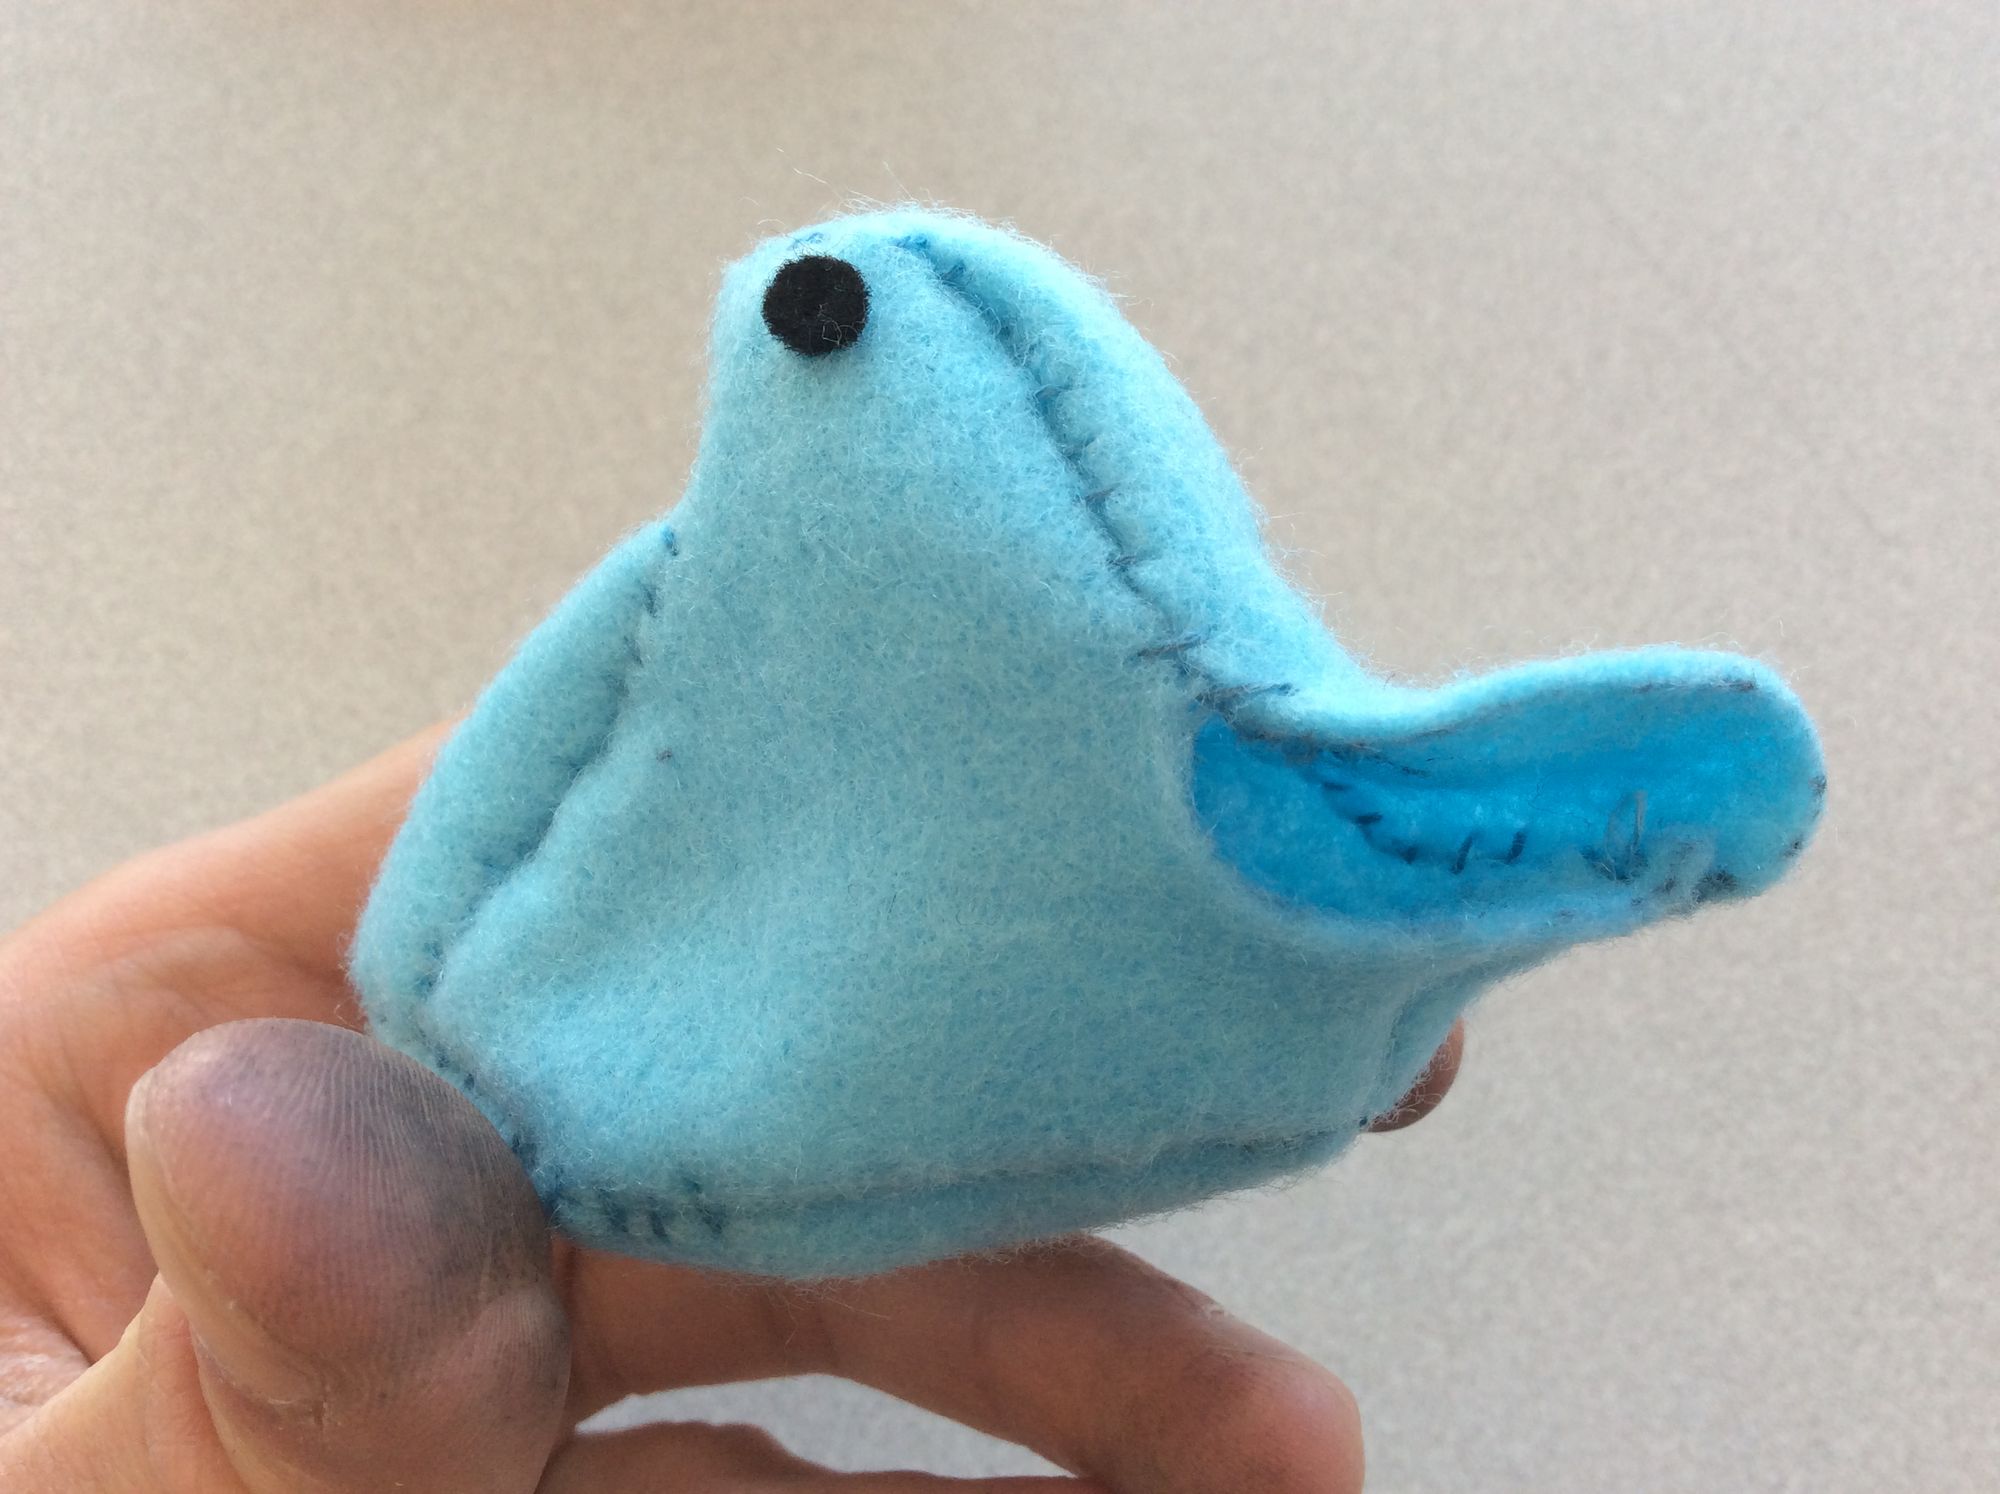
Sew exterior details first, like the eyes... (see: how to hand sew)
Stitch the pieces together wrong side out, so I can turn it inside-out later...
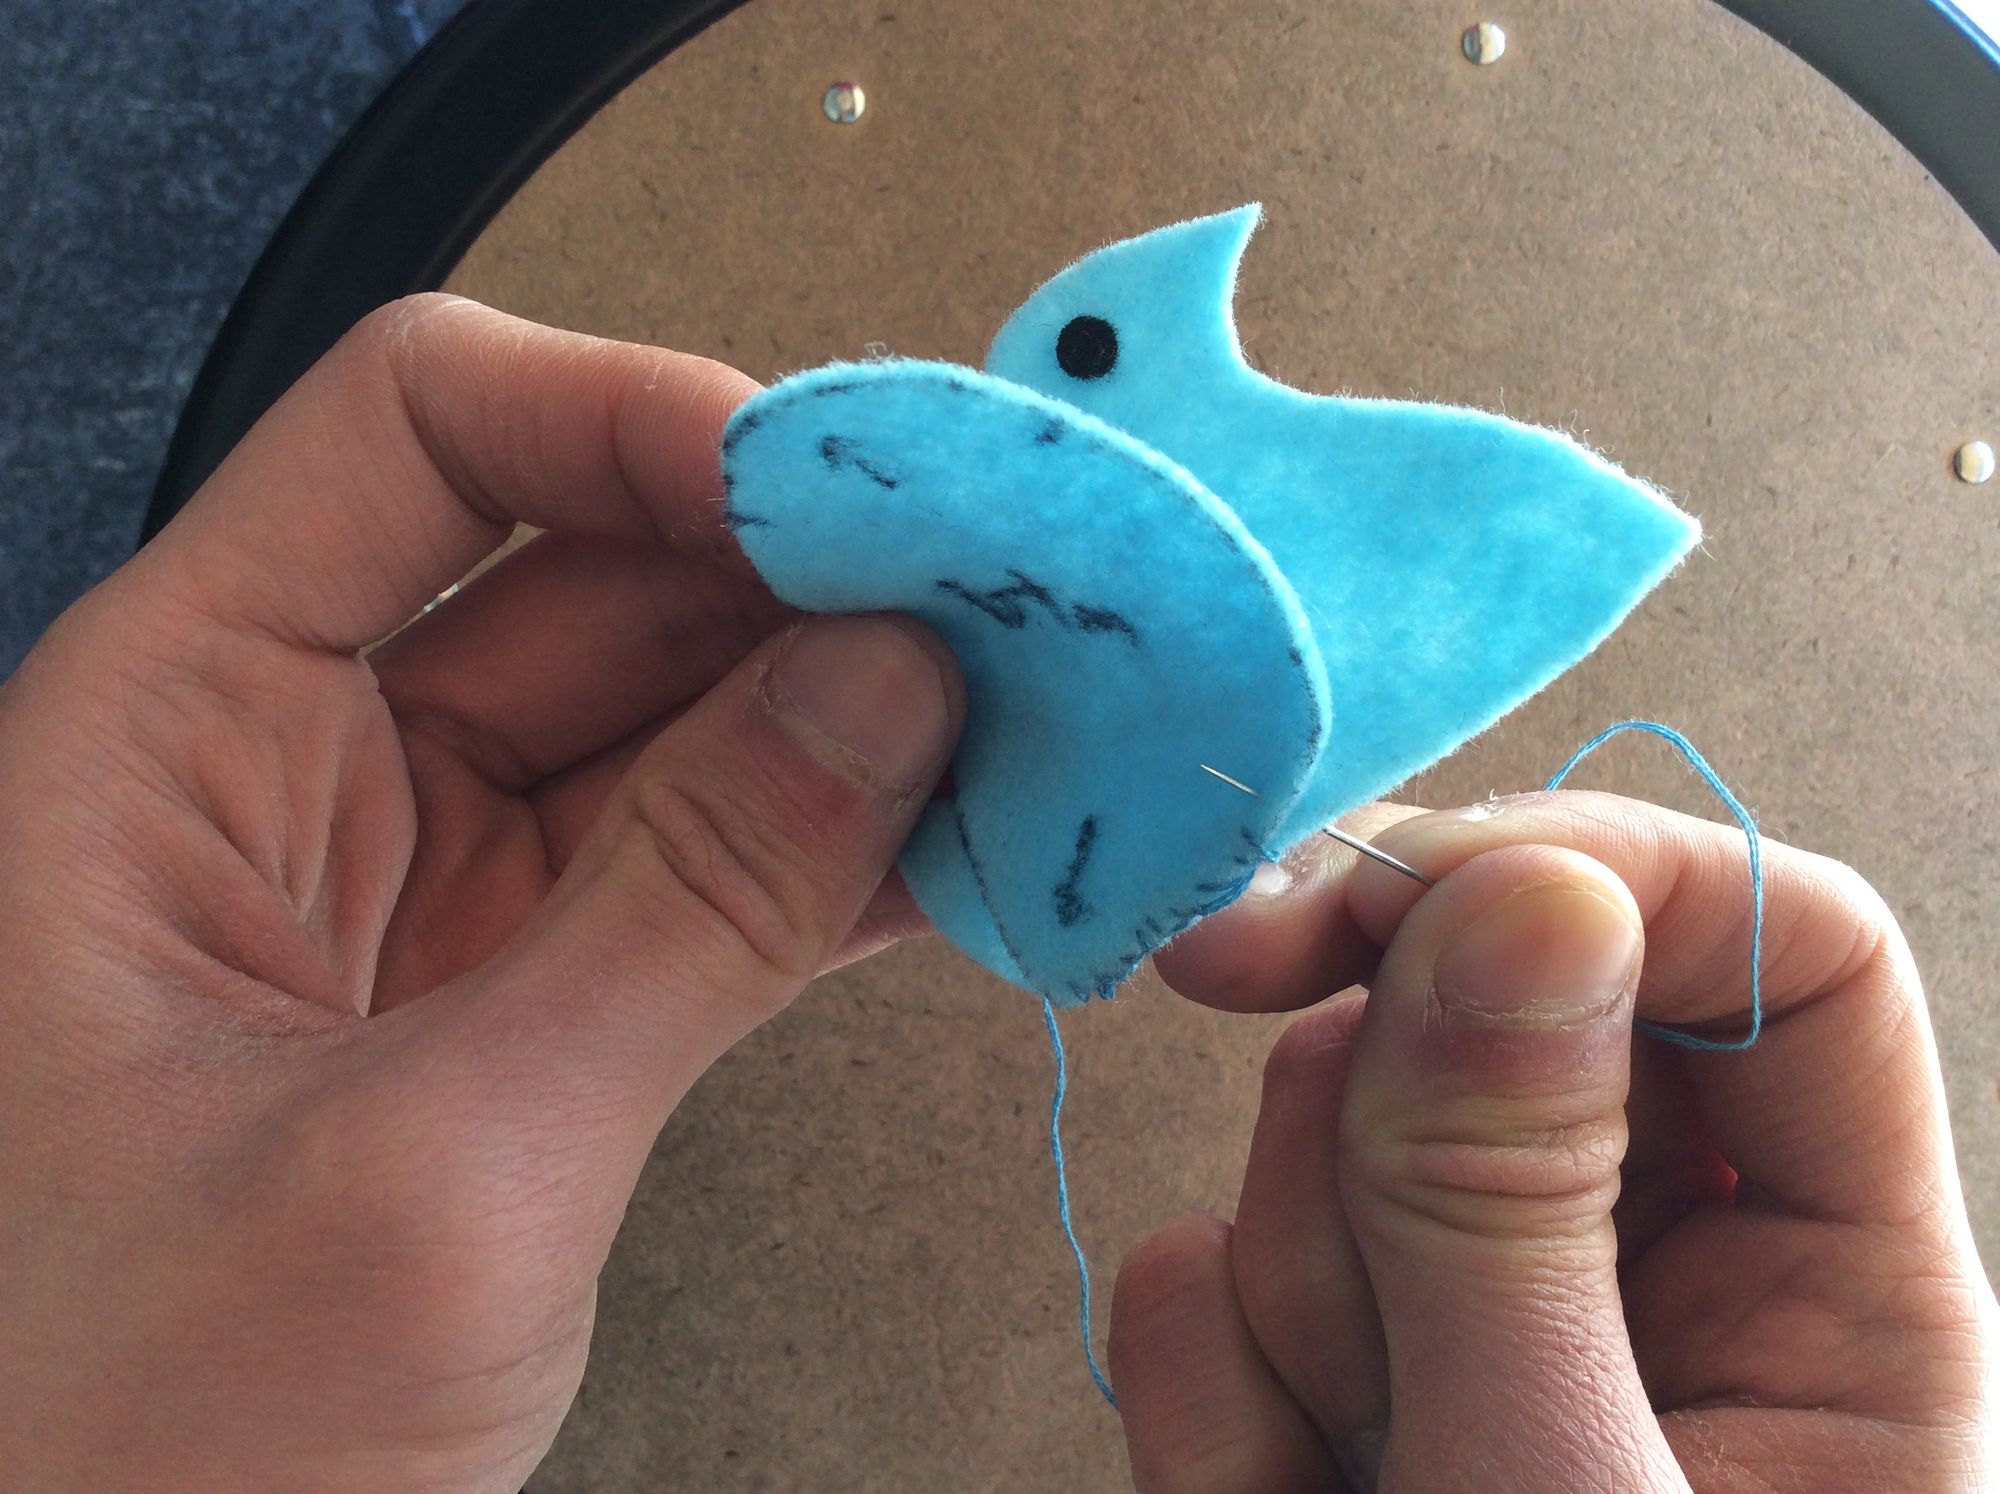
Don't forget to leave a big enough hole somewhere, to put in the stuffing!
Stuffing!
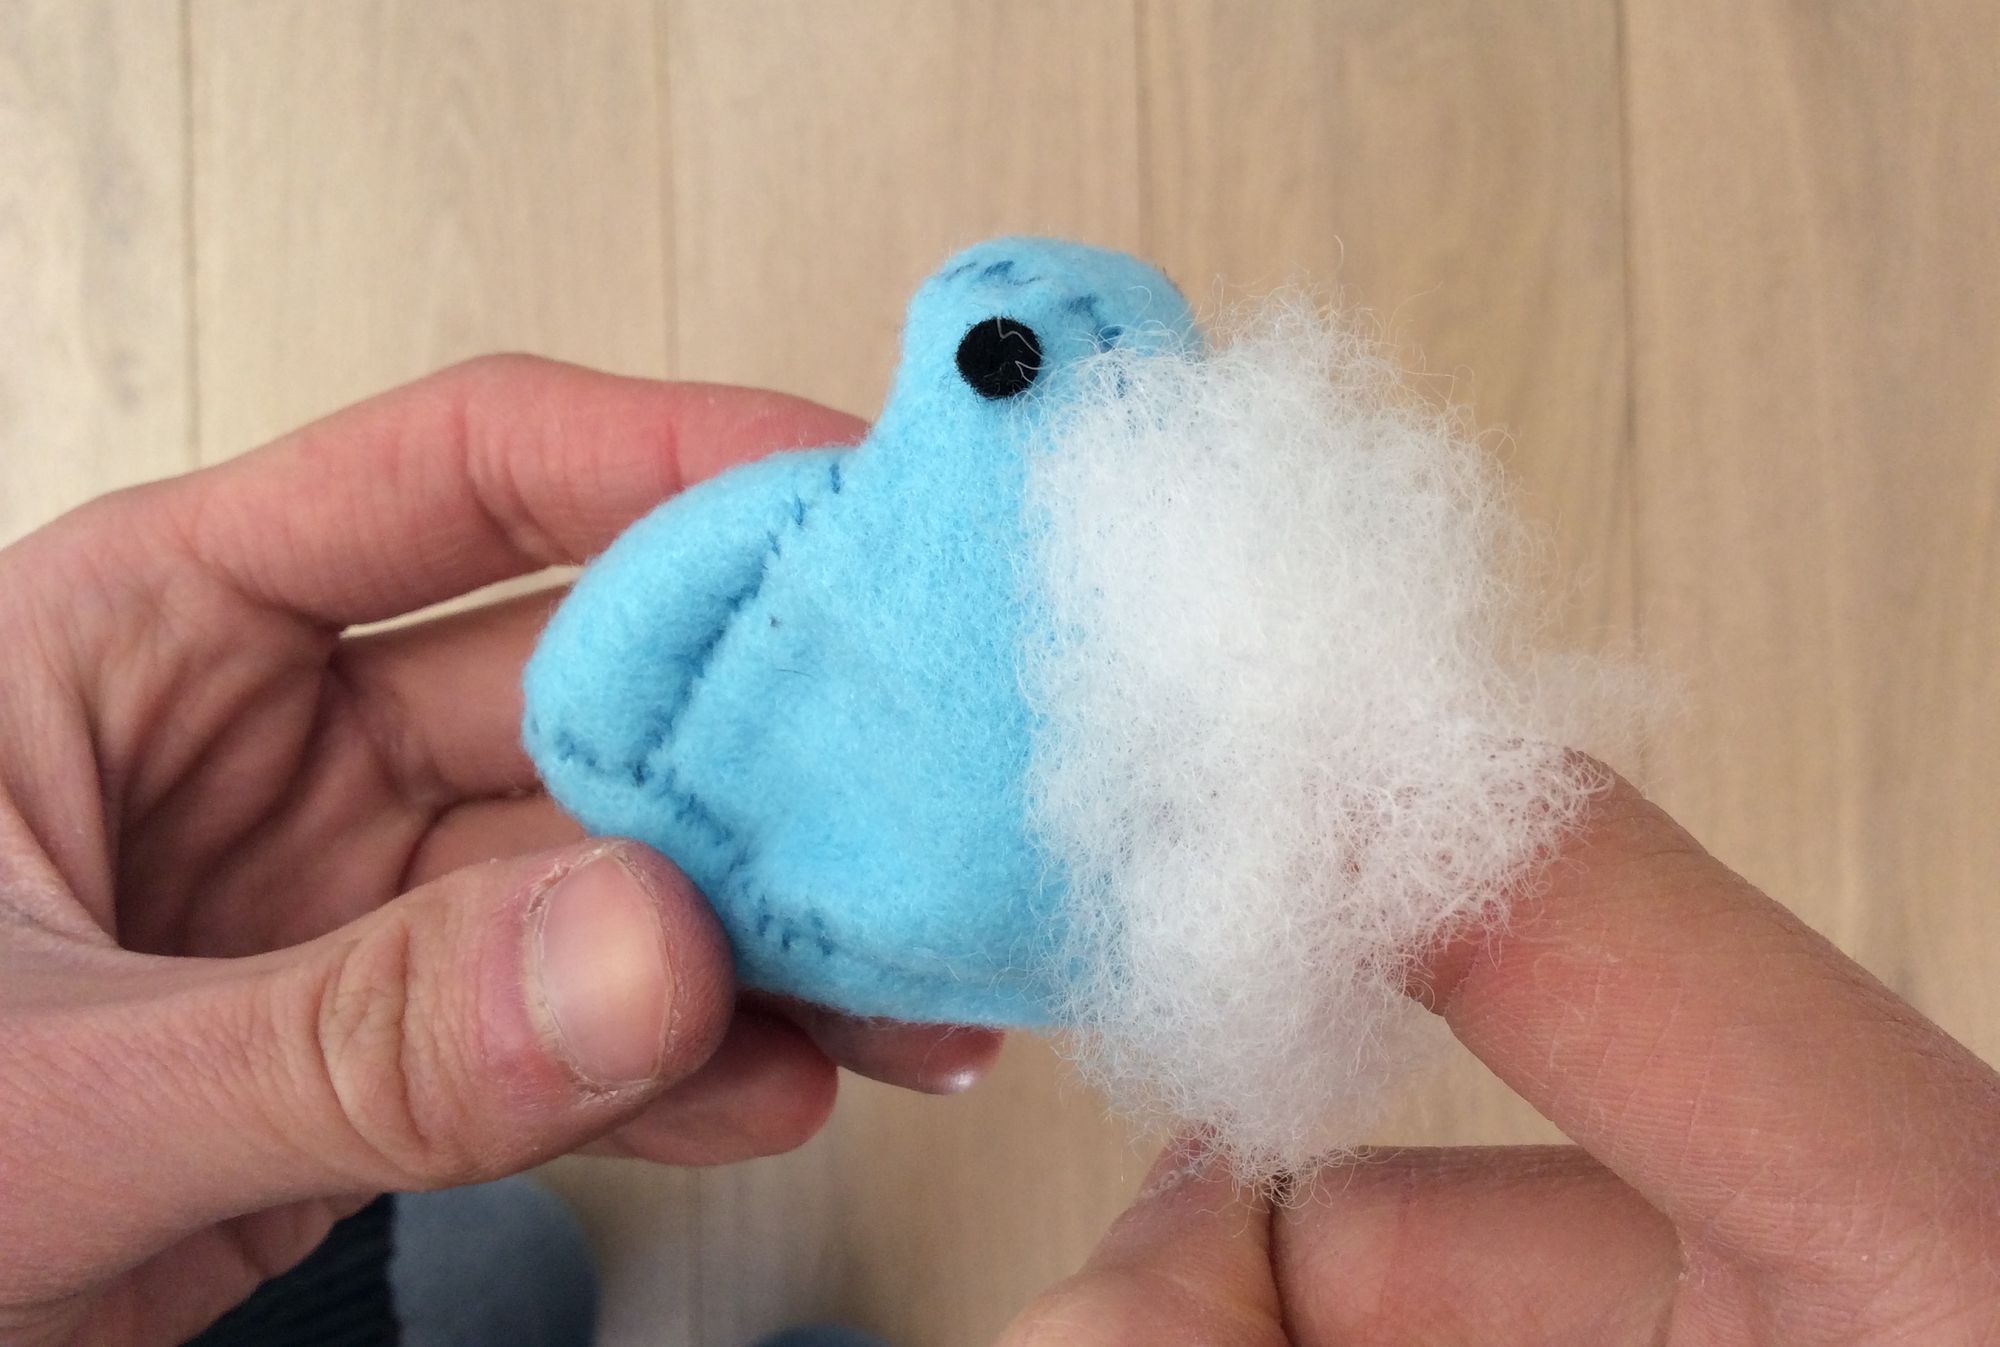
Then close up the hole, knot the thread, and bury the knot inside your fluffy lil' boy. (see: how to invisibly close plushie holes and hide knots)

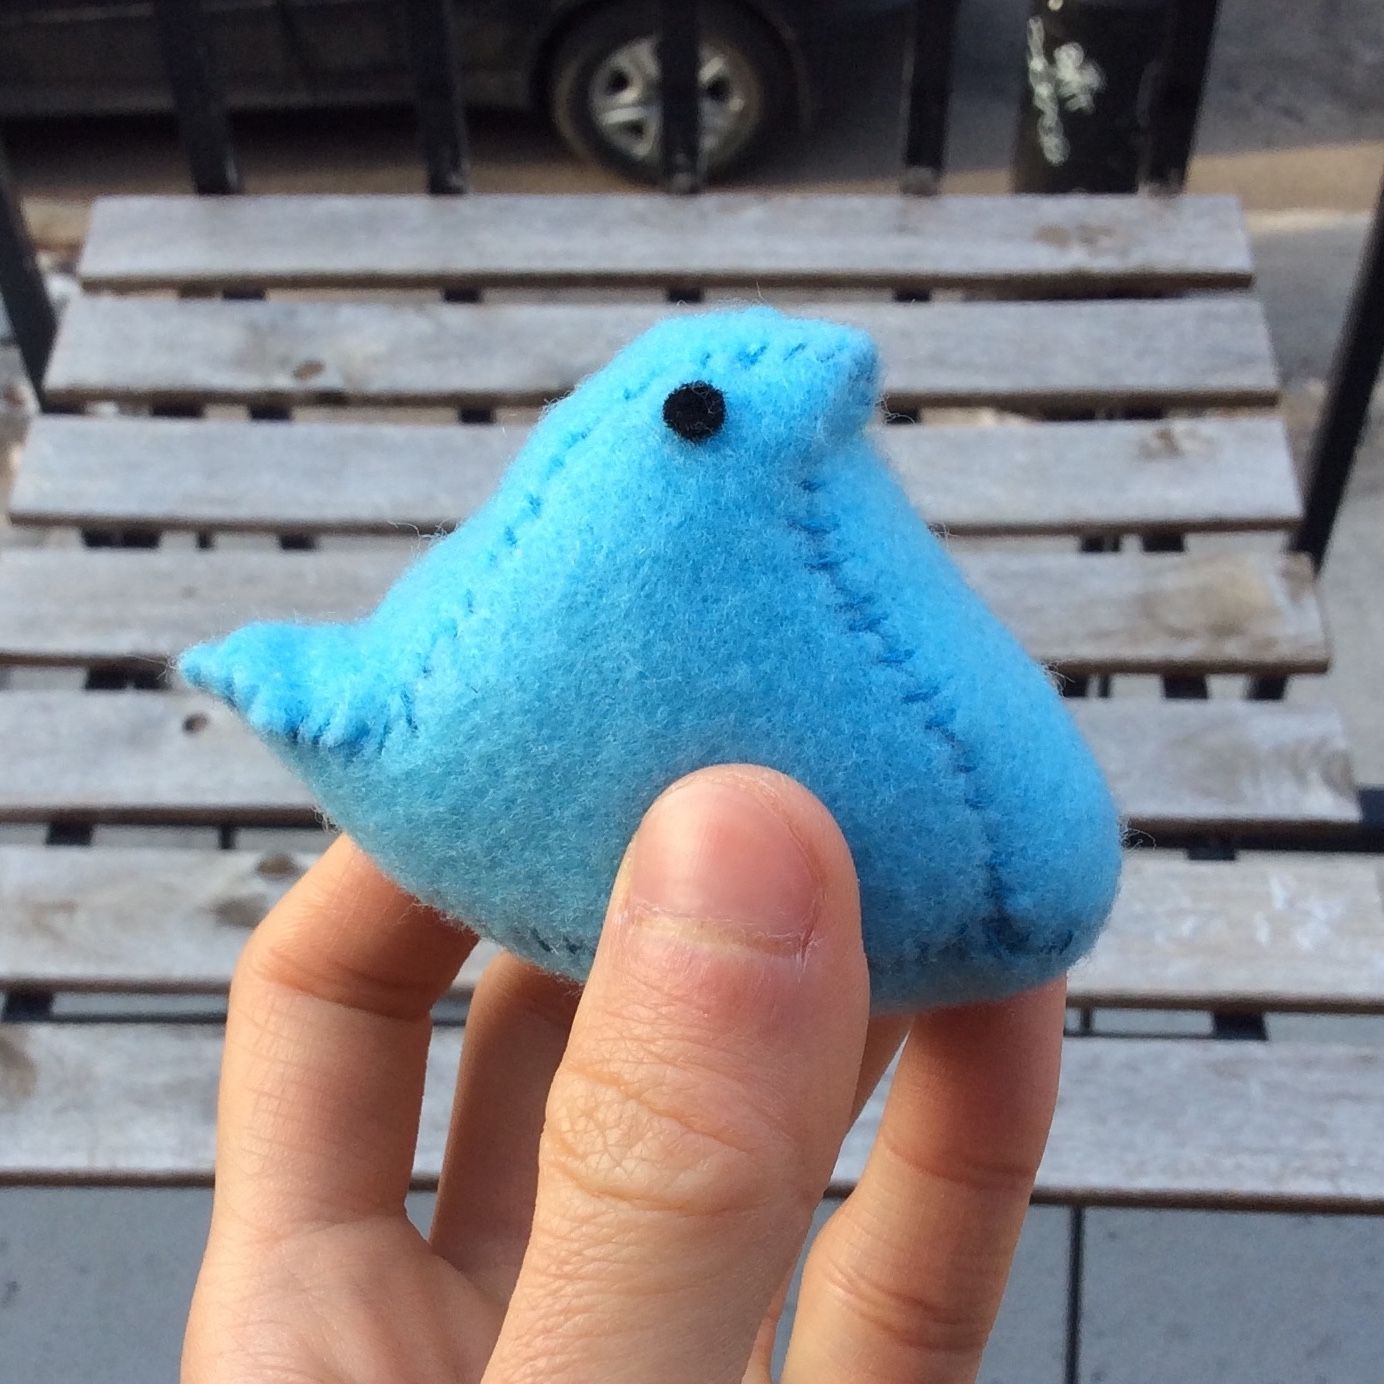
and VOILÀ
HE
IS
✨ FABULOUS ✨
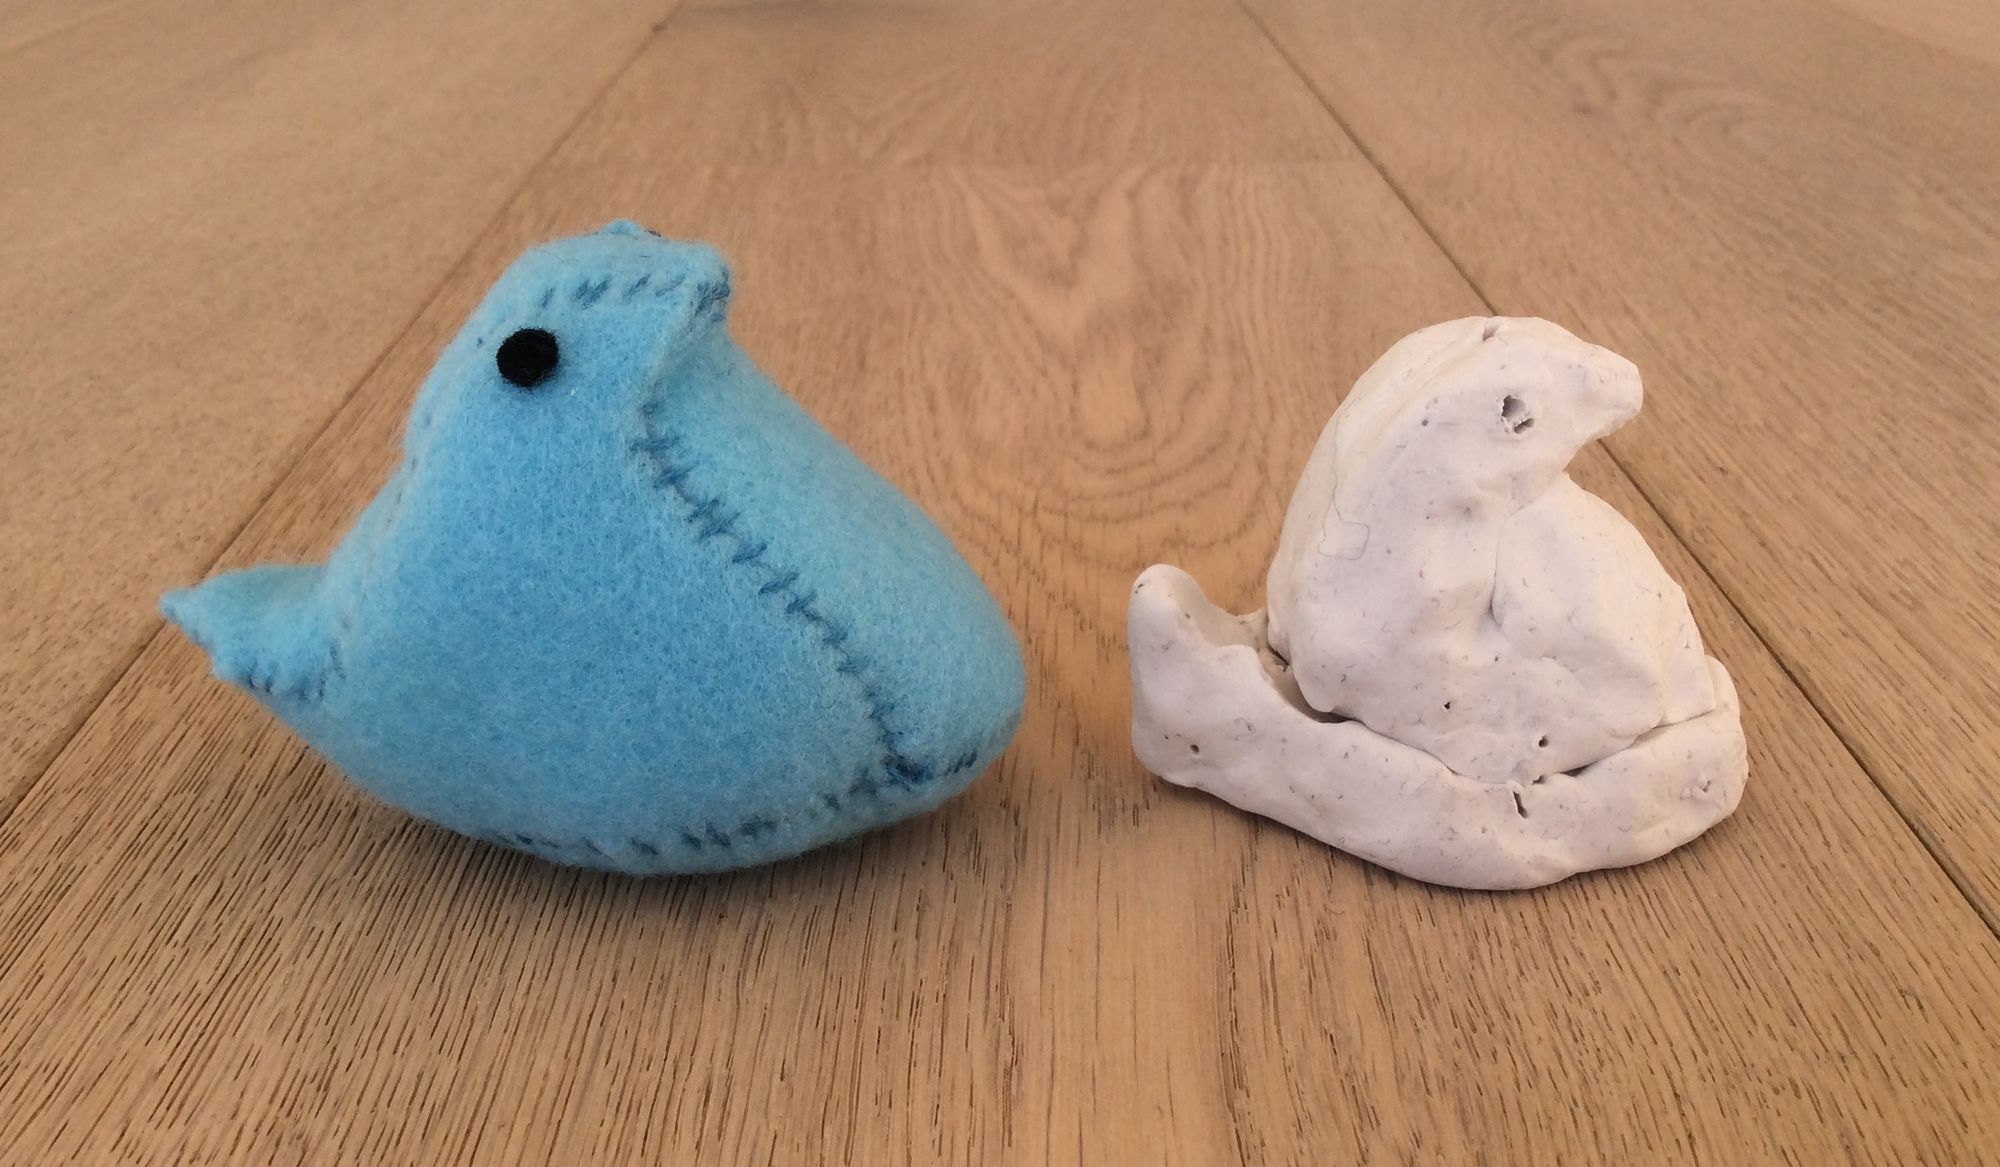
As you can see, the plushie's final form is pretty close to the clay model. Just slightly chubbier, thanks to all that stuffing:
Peeps dream of flying:
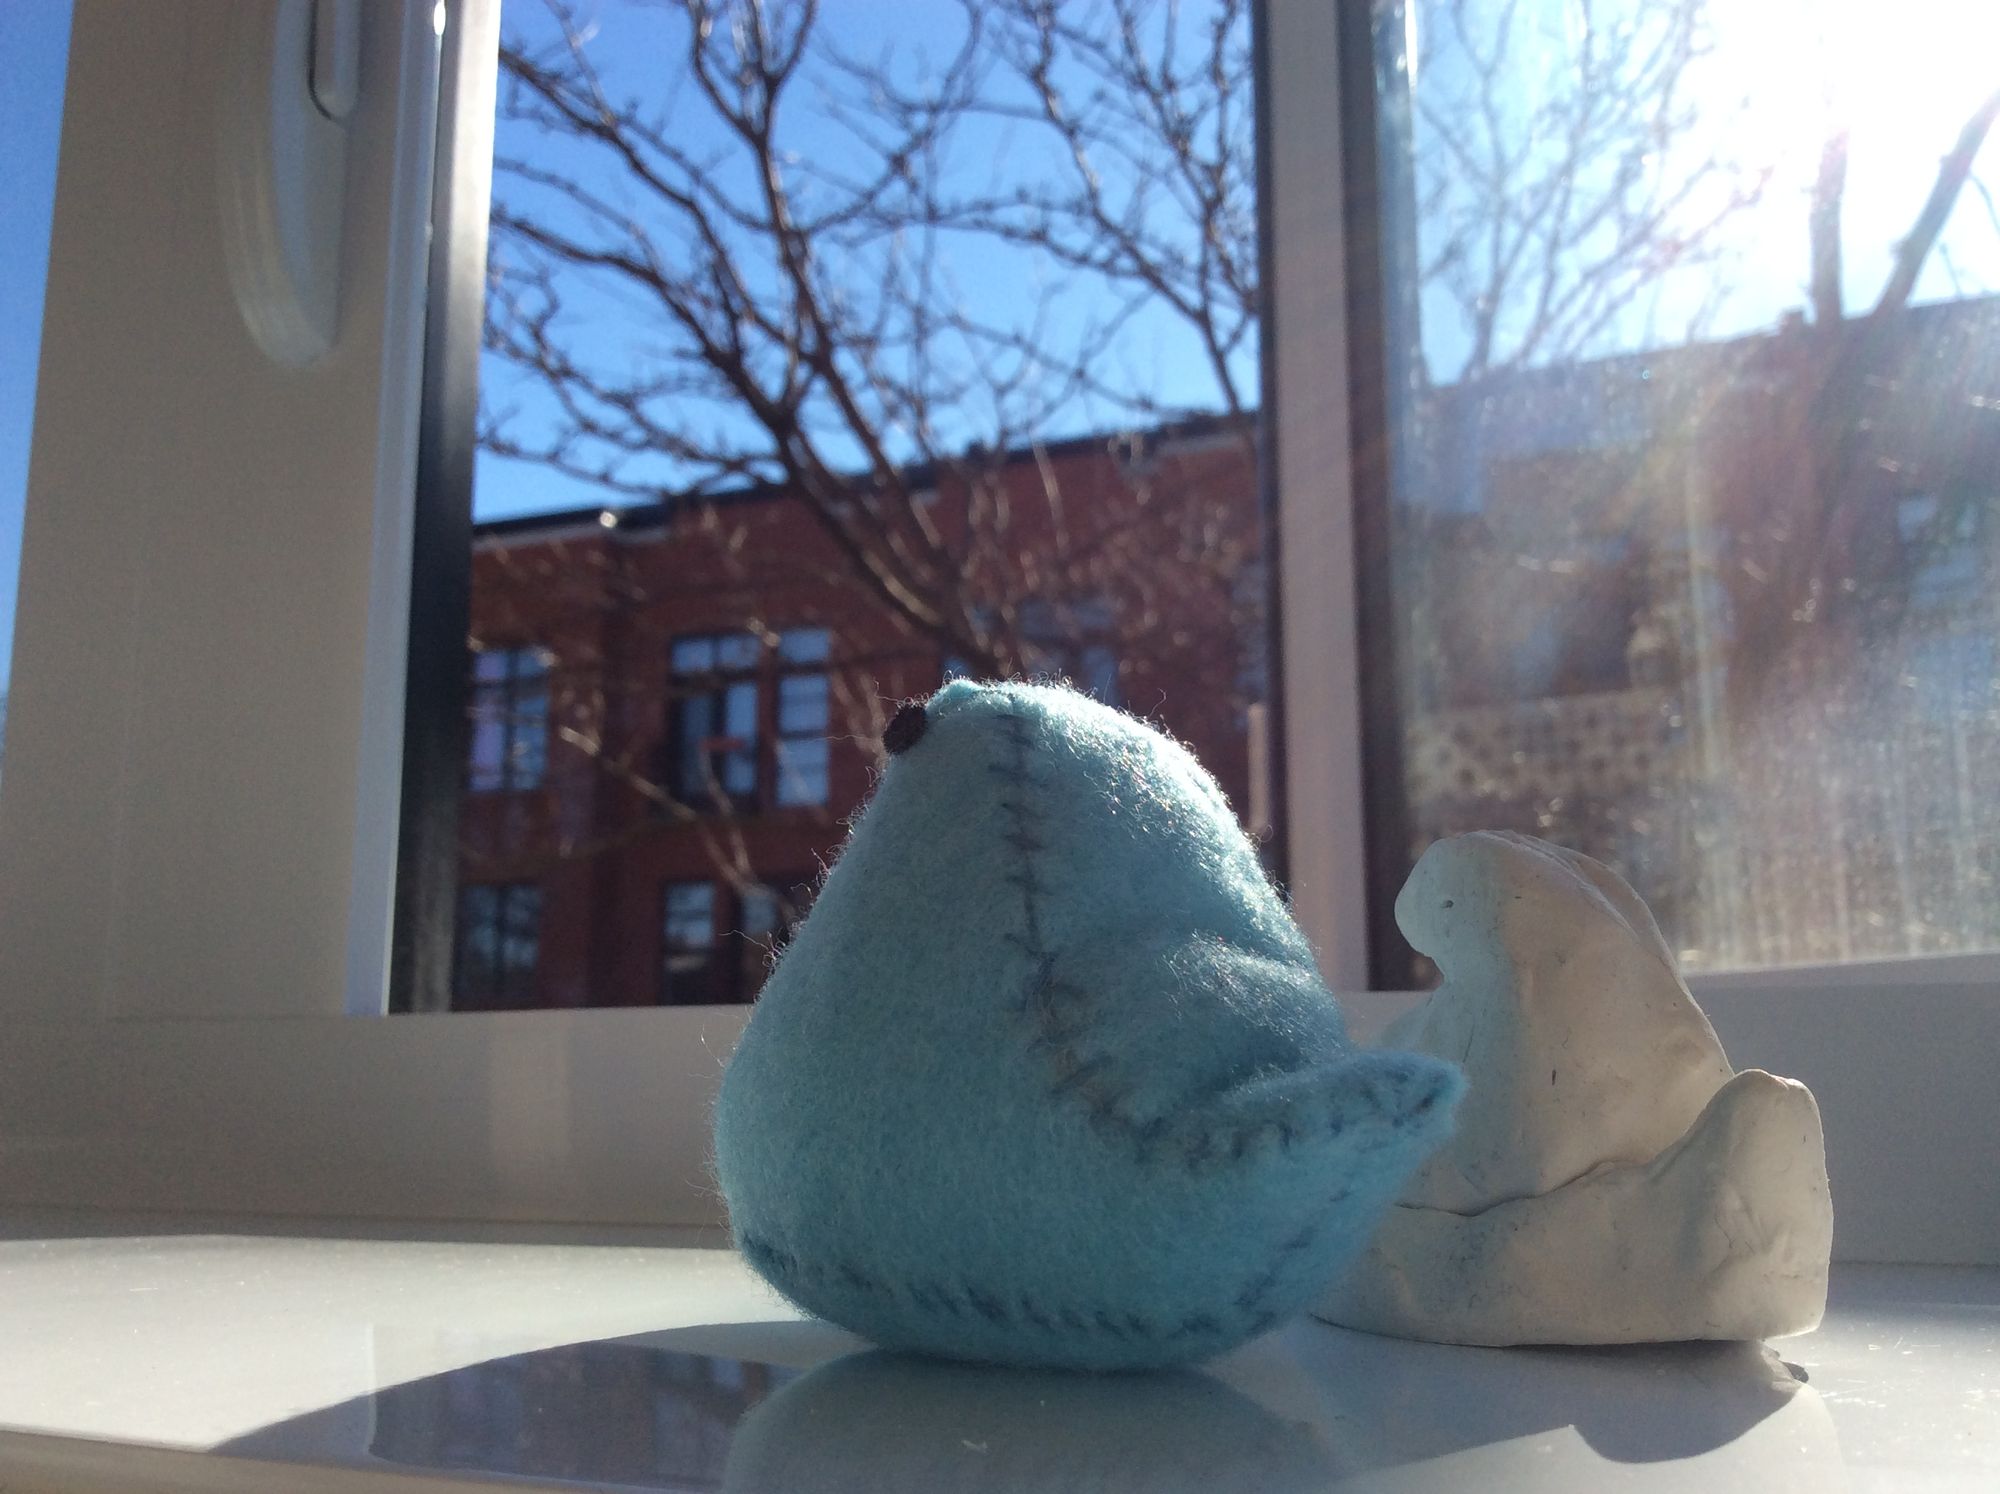
And sometimes, dreams really do come true:
Now you know how to turn any 3D form you like into a 2D plush pattern, no wizards required. Happy pattern-making! 🐥
Thank you to my generous supporters on Patreon, who thought I'd be making educational videogames since that's what I usually do, but I'm currently on sabbati-cation, so, heck it, this week it's plushies.